Vanilla Gelato
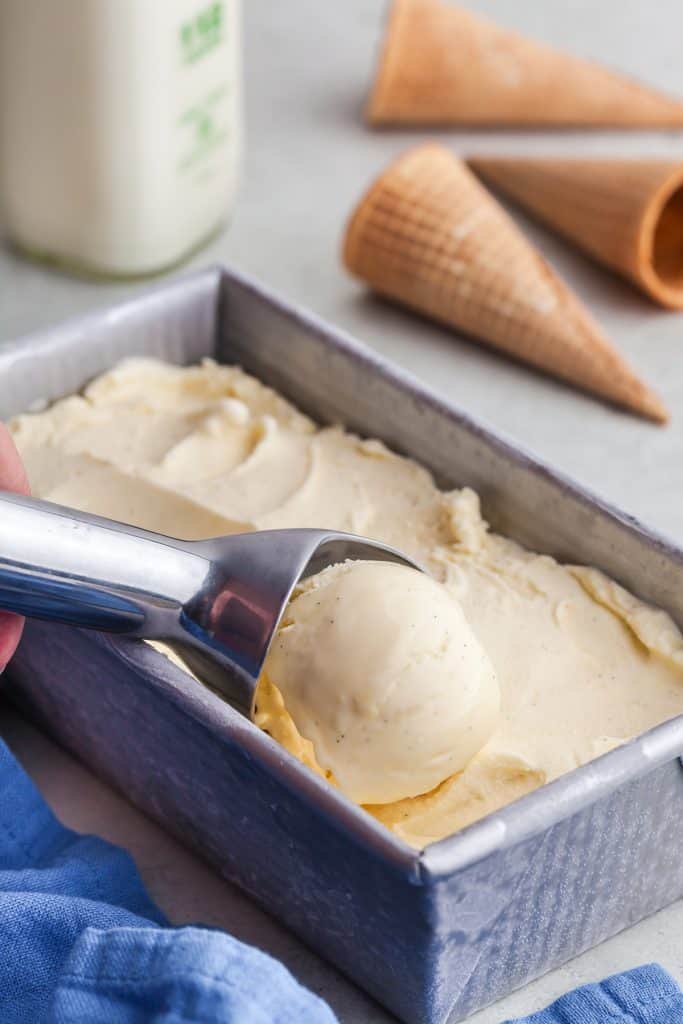
This Vanilla Gelato recipe is rich and creamy but not too sweet, simplicity and indulgence in equal measure. It is the perfect canvas for a sundae treat, or to compliment your decadent desserts. And of course you can enjoy it straight up in a cone or bowl. How you use your vanilla gelato is up to you - but one thing's for sure, you will keep coming back to this classic.
Why I Love This Vanilla Gelato Recipe
There seems to be a bit of a theme to my most recent posts, recipes that are easy to make. There's a time and place for a show stopper recipe with many steps, but I tend to always come back to my easy recipes more often than not. Making gelato or ice cream is an easy do, if you have an ice cream maker. The hardest part is waiting for things to chill, but if you plan ahead it's a breeze. This vanilla gelato recipe is wonderful as is, in a cone, bowl, sundae, or as a pairing with more decadent desserts. But this recipe can be used as a base for more "wild" flavours. You can mix in nuts, chocolate bits, sauces, or candy to up the ante. We are only limited by our imagination and the size of our ice cream makers 😂.
Equipment
Disclosure: as an Amazon affiliate, I receive a small amount of compensation from qualifying purchases at no expense to you. This helps support my work and allows me to bring more yummy recipes your way.
As I mentioned, the biggest equipment component to this recipe is an ice cream maker. I have a KitchenAid Mixer and I bought the Ice Cream Bowl attachment. You need to freeze the bowl for at least 16 hours before beginning, but it worked great and I would recommend it if you have a KitchenAid Mixer. If you want a standalone ice cream maker this Cuisinart 1.5 Qt has great reviews. The bowl also needs to be frozen for 16 hours. Lastly, if you don't want to store extra gadgets, you can also make gelato by hand, but I have not personally done this.
One gadget I highly highly recommend is the Zeroll Ice Cream Scoop. I can not say enough good things about this scoop! It is an ice cream game changer. I have struggled with scoops over the years, some even breaking, but the biggest struggle is the strain on your hands and wrist while scooping. This scoop has a special liquid in the interior that warms up when your hand is grasping the scoop. The warm liquid warms the metal and it slices through the ice cream like butter (ok that's a slight exaggeration, but not a total exaggeration). It makes scooping ice cream a pleasure. The one downside, is you have to be very meticulous with it. Right after using it, wash with cool water and dish soap, rinse and then dry it. Keep it away from heat and it will last for years! LOVE IT!
Other items needed in this recipe:
Ingredients
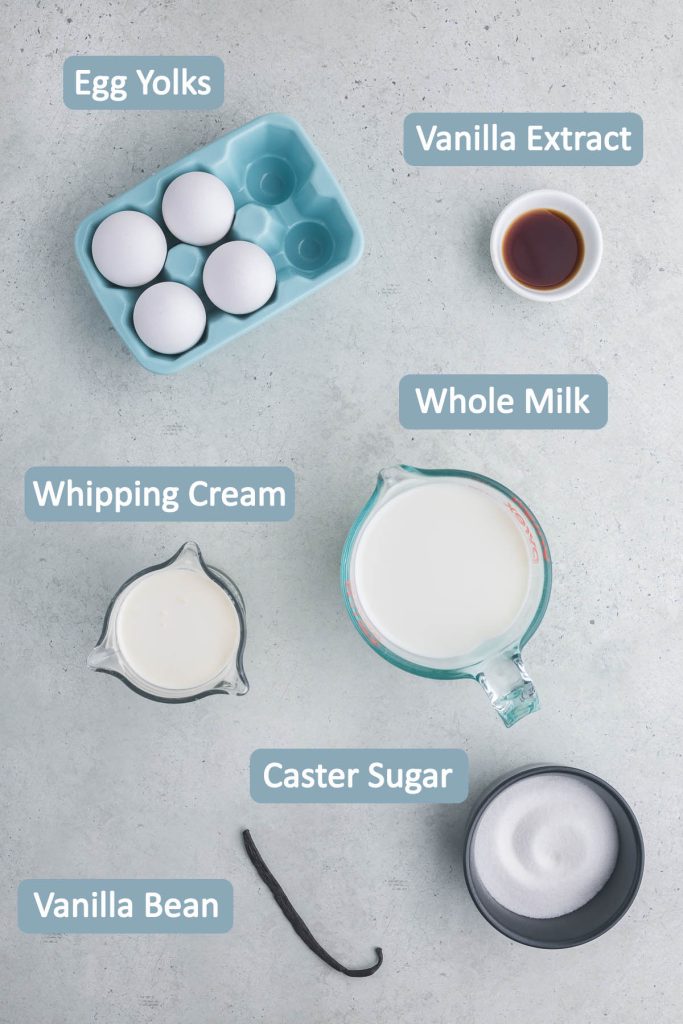
- Egg Yolks - base of the vanilla custard
- Caster Sugar - lending sweetness to the gelato (can be altered to your personal tastes)
- Whole milk - part of the base of the vanilla custard
- Vanilla bean - provides amazing vanilla flavour and aroma. See Note 1 discussing different vanilla bean varieties.
- Whipping Cream - provides fat content and richness
- Vanilla Extract - helps strengthen the vanilla flavour profile
How To Make Vanilla Gelato
- If your ice cream maker needs it's bowl frozen, place in freezer for the specified time by the manufacturer - I usually do this for 16-24 hours.
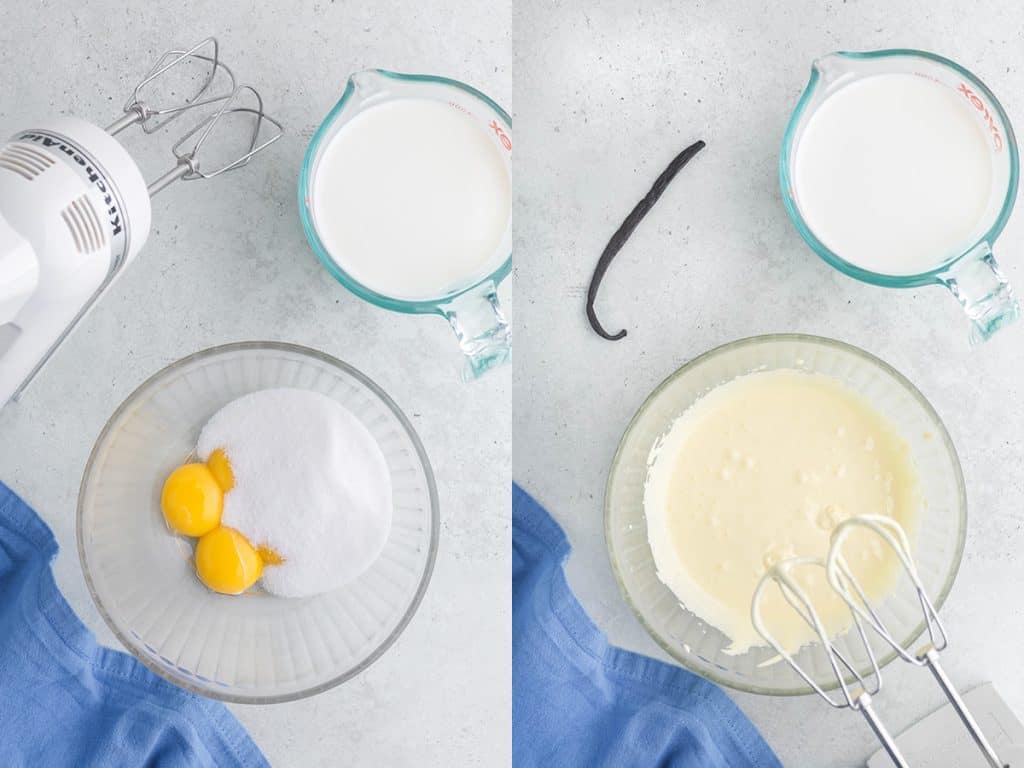
- Place the 4 egg yolks into a medium sized mixing bowl.
- Add ⅔ cup of white sugar into the mixing bowl and beat together with a hand mixer or whisk until the eggs become a pale yellow color and the mixture is thick - about 2 minutes. Set bowl aside.
- Add 2 cups of whole milk to a medium sized saucepan.
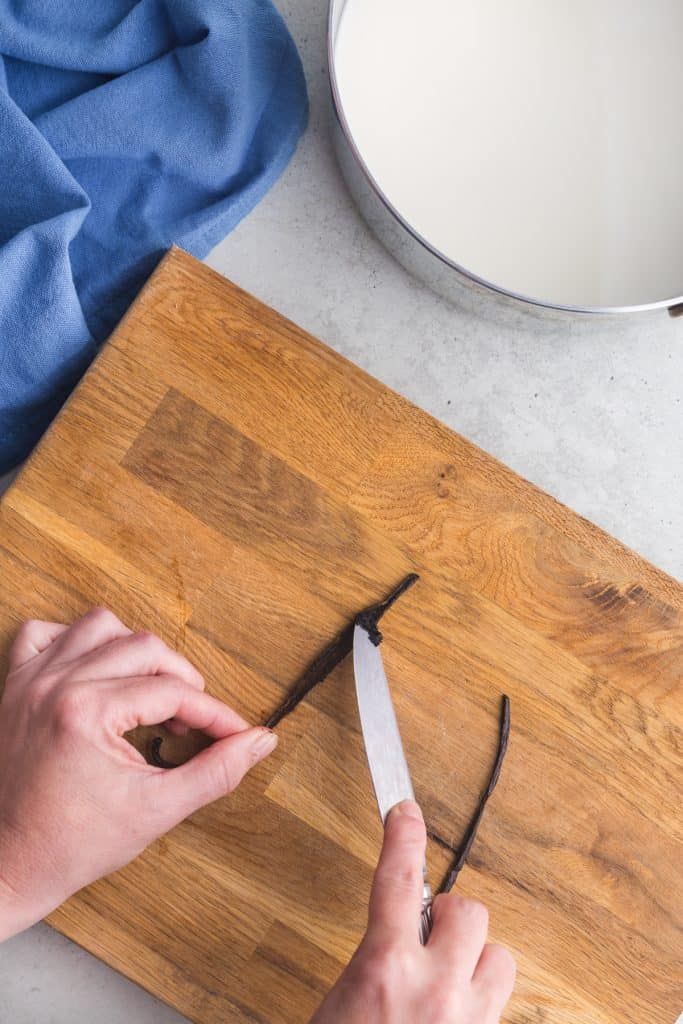
- Slice the vanilla bean in half lengthwise, and with the dull side of a knife scrape the seeds out and place them into the saucepan along with the empty vanilla bean pod.
- Heat the milk over medium heat while stirring occasionally. Once the milk begins to let off steam, remove from the heat (about 185F). Do not boil the milk.
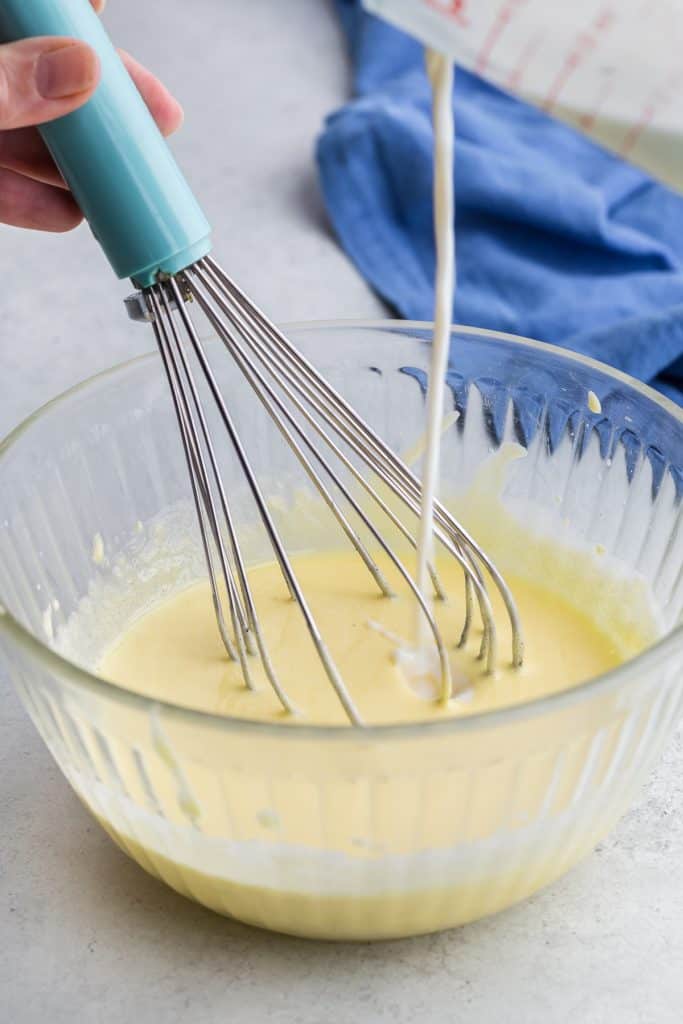
- Temper the yolk/sugar mixture by slowly pouring in ½ cup of the hot milk into the yolk mixture while continuously whisking the yolks. See Note 2.
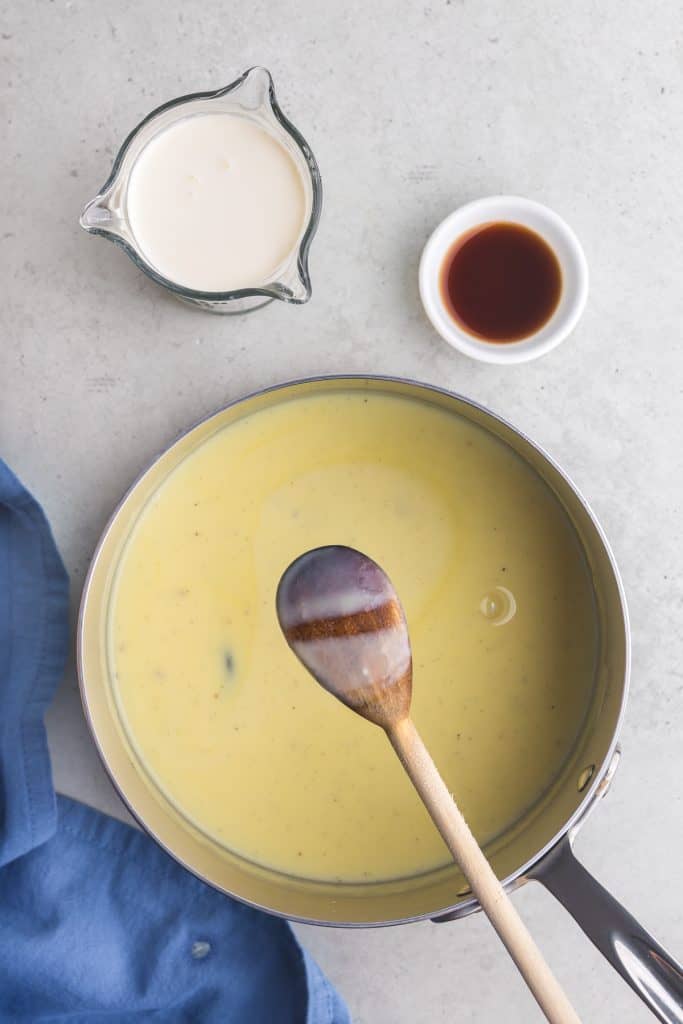
- Now add the warmed yolk mixture into the saucepan with the rest of the hot milk while whisking the hot milk mixture continuously. Heat the mixture on medium heat with constant stirring with a wooden spoon until the mixture coats the back of the spoon or it reaches 185 F.
- Remove from the heat.
- Pour custard through a fine mesh sieve. This will remove any egg chunks that may have formed leaving you with a silky smooth custard - I don't recommend skipping this step.
- Stir in 1 cup heavy cream (whipping cream) and 2 teaspoons vanilla extract.
- Allow to cool to room temperature on the counter for about 30 minutes.
- Cover with a plastic wrap and allow to completely cool in the fridge - can take around 4 hours, you can even leave it overnight.
- Follow the manufacturer's instructions for your ice cream maker. I have to make sure my paddle is turning before I add in my cooled custard. I allow it to churn for about 20 minutes. At this point, it is the consistency of soft serve.
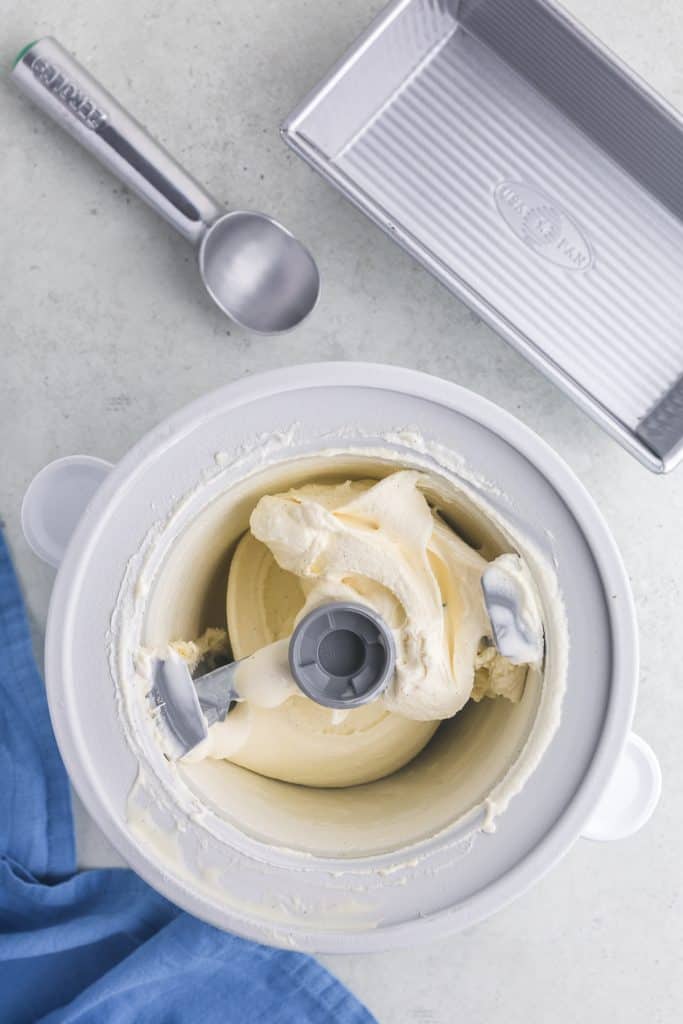
- Scoop it out of the ice cream maker as per manufacturer's instructions and place into a freezer safe container. Place a cover on and then into the freezer for four hours. The extra freezer time allows the vanilla gelato to firm up.
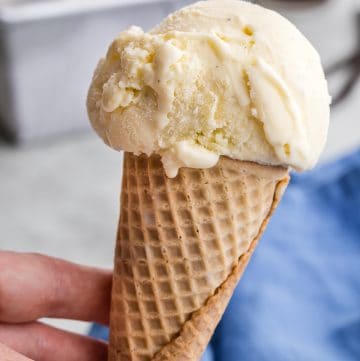
- Once set up, scoop, serve, and enjoy!
Notes
- The most common choices for vanilla beans are of the Madagascar or Tahitian variety. For this recipe I used the Madagascar beans. You can learn more about the differences of these two varieties here.
- Tempering the yolks. If you add hot milk to the egg yolk mixture all at once or without continuous whisking you run the risk of the hot milk cooking the yolks (and any egg white present). This will leave you with chunks of cooked egg instead of a silky smooth custard. Adding the milk slowly with whisking brings the eggs up to temperature slowly so they don't cook.
FAQs
- How long will my gelato last in the freezer? If you keep it in an airtight container, your vanilla gelato will last up to three months in the freezer.
- If I want to add nuts, candy pieces, or sauces to swirl, when do I add those? Check with your manufacturer's suggestions, but my mixer says to add mix-ins after about 12 minutes of churning. If you want to swirl in a sauce I would do this just at the very end so it doesn't get completely mixed in.
- What's the difference between vanilla ice cream and vanilla gelato? I find the main difference is in the ratios of milk to cream. Ice cream tends to have a higher ratio of cream in the recipe leading to a higher fat content than gelato. Ice cream is also often served at a lower temperature than gelato, but if you are making them at home, they will be the temperature of your freezer regardless.
If You Liked This Vanilla Gelato Recipe...
If you liked this recipe, please consider leaving a comment below - I love to hear how people get on with my recipes and I truly make an effort to respond to everyone who takes the time to comment. Other cold treats you might enjoy include:


Vanilla Gelato
Equipment
- 1 ice cream maker I used the ice cream maker attachment for the KitchenAid Stand Mixer
Ingredients
- 4 large egg yolks
- ⅔ cup caster sugar
- 2 cup whole milk
- 1 vanilla bean pod I used Madagascar variety
- 1 cup heavy cream (whipping cream)
- 2 teaspoon vanilla extract
Instructions
- If your ice cream maker needs it's bowl frozen, place in freezer for the specified time by the manufacturer - I usually do this for 24 hours.
- Place the 4 egg yolks into a medium sized mixing bowl.
- Add ⅔ cup of white sugar into the mixing bowl and beat together with a hand mixer or whisk until the eggs become a pale yellow color and the mixture is thick - about 2 minutes. Set bowl aside.
- Add 2 cups of whole milk to a medium sized saucepan.
- Slice the vanilla bean in half lengthwise, and with the dull side of a knife scrape the seeds out and place them into the saucepan along with the empty vanilla bean pod.
- Heat the milk over medium heat while stirring occasionally. Once the milk begins to let off steam, remove from the heat (about 185F). Do not boil the milk.
- Temper the yolk/sugar mixture by slowly pouring in ½ cup of the hot milk into the yolk mixture while continuously whisking the yolks. See Note 2.
- Now add the warmed yolk mixture into the saucepan with the rest of the hot milk while whisking the hot milk mixture continuously. Heat the mixture on medium heat with constant stirring with a wooden spoon until the mixture coats the back of the spoon or it reaches 185 F.
- Remove from the heat.
- Pour custard through a fine mesh sieve. This will remove any egg chunks that may have formed leaving you with a silky smooth custard - I don't recommend skipping this step.
- Stir in 1 cup heavy cream (whipping cream) and 2 teaspoons vanilla extract.
- Allow to cool to room temperature on the counter for about 30 minutes.
- Cover with a plastic wrap and allow to completely cool in the fridge - can take around 4 hours, you can even leave it overnight.
- Follow the manufacturer's instructions for your ice cream maker. I have to make sure my paddle is turning before I add in my cooled custard. I allow it to churn for about 20 minutes. At this point, it is the consistency of soft serve.
- Scoop it out of the ice cream maker as per manufacturer's instructions and place into a freezer safe container. Place a cover on and then into the freezer for four hours. The extra freezer time allows the vanilla gelato to firm up.
- Once set up, scoop, serve, and enjoy!
Notes
- The most common choices for vanilla beans are of the Madagascar or Tahitian variety. For this recipe I used the Madagascar beans.
- Tempering the yolks. If you add hot milk to the egg yolk mixture all at once or without continuous whisking you run the risk of the hot milk cooking the yolks (and any egg white present). This will leave you with chunks of cooked egg instead of a silky smooth custard. Adding the milk slowly with whisking brings the eggs up to temperature slowly so they don't cook.


Comments
No Comments