
Homemade pie starts with a homemade pie crust. This all-butter pie crust recipe is flaky, tender, and full of real butter flavor – the kind that turns a simple filling into something truly special. It’s easy to work with, dependable, and versatile enough for both sweet dessert pies and savory favorites like quiche. Once you’ve made your own crust from scratch, it’s hard to go back.
It’s true – premade pie crust doesn’t quite compare to one made from scratch. But don’t rush to toss the store-bought crust in your freezer just yet. It serves a purpose, and it serves it well. It’s there when you’re in a pinch and simply don’t have time to make your own. The flavor may not be as rich and the ingredients not quite as simple, but it gets the job done – and we can all use a backup like that once in a while.
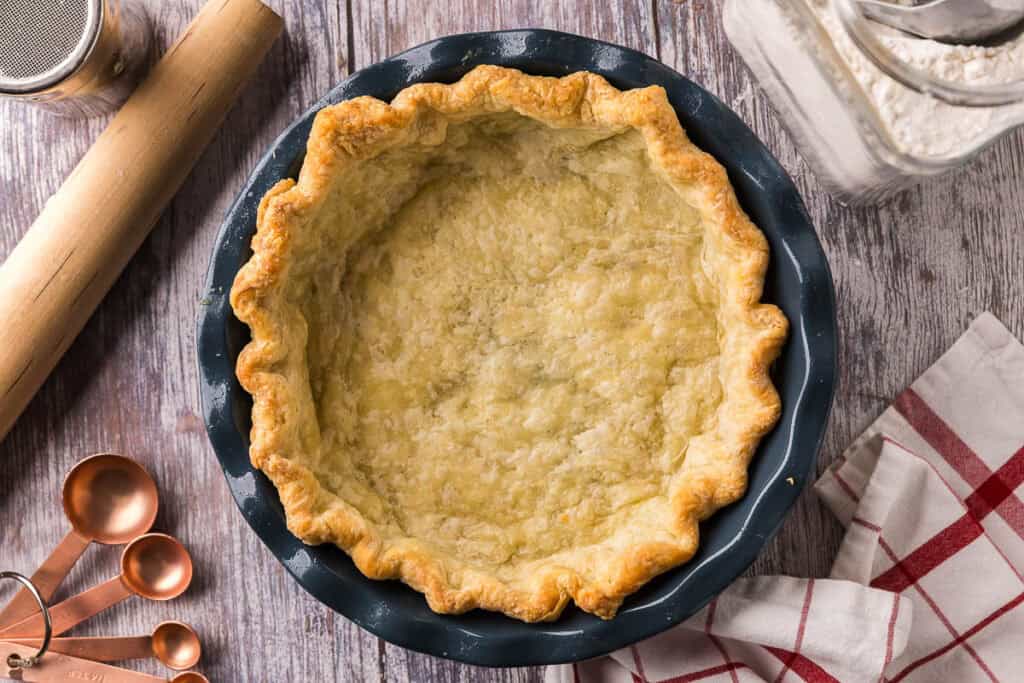
That said, there’s something especially lovely about a homemade pie crust, slightly rustic and imperfect as it comes out of the oven. It feels thoughtful. It feels like care. And that’s one of the reasons I love making my own. This recipe can be used for both sweet and savory pies like a fruit pie or my yummy quiche.
Yes, it takes a little extra time. But much of the work can be done ahead to make things easier. The dough freezes beautifully, so you can prepare it in advance and have it waiting for you. Simply thaw it overnight in the fridge when you’re ready to bake. You can even freeze it already rolled out and fitted into a pie plate, ready to fill at a moment’s notice. Because you never quite know when the craving for pie will strike.
And if a sweet pie is your thing you may also be interested in:
Why You’ll Love This Pie Crust Recipe
- Rich, all-butter flavor – This homemade pie crust is made entirely with butter for unbeatable taste.
- Perfectly flaky layers – Cold butter creates tender, crisp layers in every slice.
- Versatile for sweet and savory pies – Use this pie dough for fruit pies, custard pies, quiche, or pot pie.
- Easy-to-handle pie dough – Rolls out smoothly and fits beautifully into your pie plate without tearing.
- Make-ahead and freezer-friendly – Freeze the pie dough discs or a fitted pie shell for easy baking later.
- Simple pantry ingredients – No shortening, no preservatives, just real, straightforward ingredients.
- Prevents soggy bottoms – Ideal for blind baking or par-baking when your filling needs extra support.
- A reliable go-to crust recipe – The kind of flaky homemade pie crust you’ll use again and again.
Equipment Needed
Disclosure: as an Amazon affiliate, I receive a small amount of compensation from qualifying purchases at no expense to you. This helps support my work and allows me to bring more yummy recipes your way.
- Measuring Cups
- Measuring Spoons
- Rolling Pin
- Silicone Mat optional but makes rolling easier
- 9″ Pie Plate I like glass pyrex and ceramic plates
- Parchment Paper if you will be blind baking the crust
- Pie Weights or dried beans for blind baking the crust
Ingredients You’ll Need for Making Homemade Pie Crust
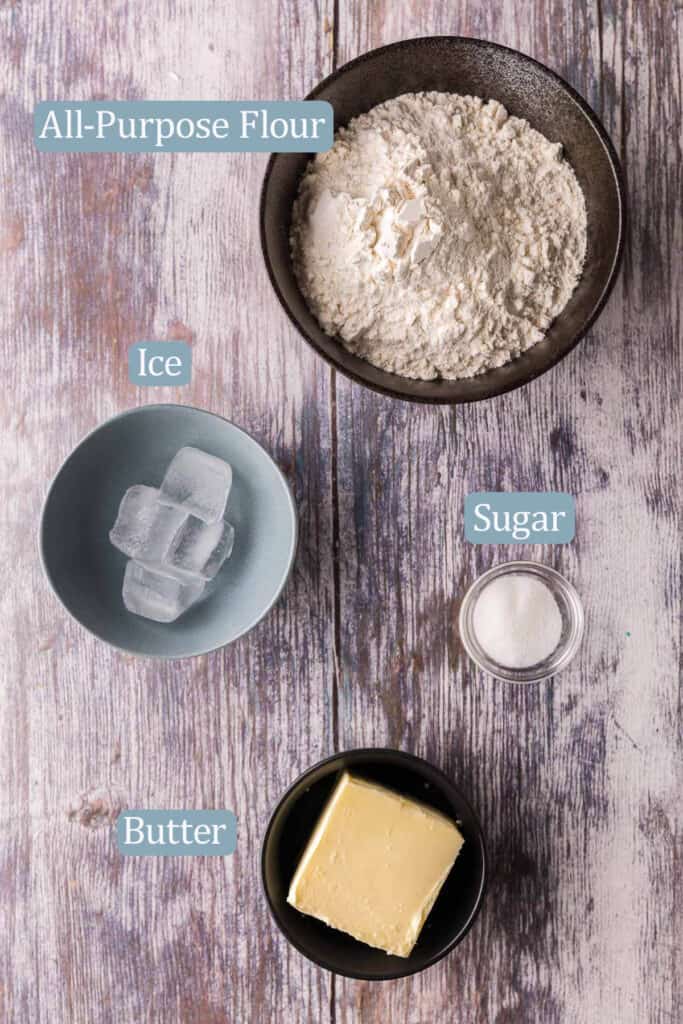
- Flour
- Sugar
- Salted Butter, cut into roughly 1/2″ cubes
- Ice Water
Flour – adds the structure to the pie shell
Salted Butter – is the fat necessary for the pie shell. Brings the buttery flavor and makes it flakey.
Sugar – Adds a touch of sweetness to balance the saltiness in the butter. You won’t notice it tasting sweet and this crust can be used for sweet or savory pies.
Ice Water – adds the moisture to bring the dough together. You want it ice cold to keep the butter cold leading to a flakey crust.
How To Make This Homemade Pie Crust Recipe
Making the Dough
Measure about ½ cup water into a small bowl, add a few ice cubes, and set aside to chill.
Add the cold cubed butter to the flour mixture. Using your hands, toss the butter in the flour until all the pieces are coated.
“Shingle” the butter by squishing each cube between your thumb and forefinger, lightly smearing it into flat pieces. Return the butter to the bowl and toss again in the flour. Repeat this process over and over until you have flattened butter pieces of various sizes, with the largest about the size of walnut halves. (This variation helps create a flaky crust. See Pro Tips.)

If the dough ever feels like it might be getting warm, refrigerate or freeze it briefly. Keeping everything cold is key to a great crust.
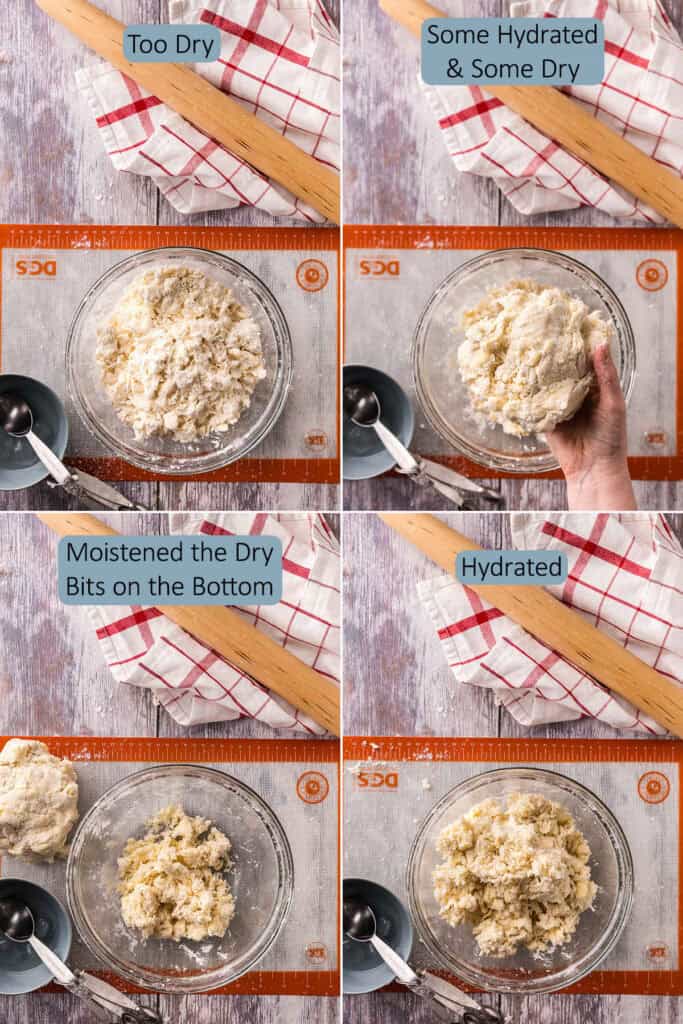
Make a well in the center of the bowl and add about 5 tablespoons ice water. Using your hands, gently toss to distribute the moisture. Break up any large clumps to help hydrate the dough evenly. This dough may take slightly more than ½ cup of water total, but add only what you need (see Pro Tips).
Continue adding water 1 tablespoon at a time, mixing gently, until the dough forms a shaggy mass. When squeezed in your hand, it should hold its shape. Avoid adding excess water.
If dry bits remain at the bottom of the bowl, remove the hydrated dough and sprinkle a small amount of ice water over the dry ingredients. Mix gently, then combine everything together.
Gently knead in the bowl just until the dough mostly comes together, then turn it out onto your work surface. Do not knead like bread – overworking will toughen the crust.
Press the dough gently into a ball. It should look shaggy rather than smooth, with visible butter pieces throughout.
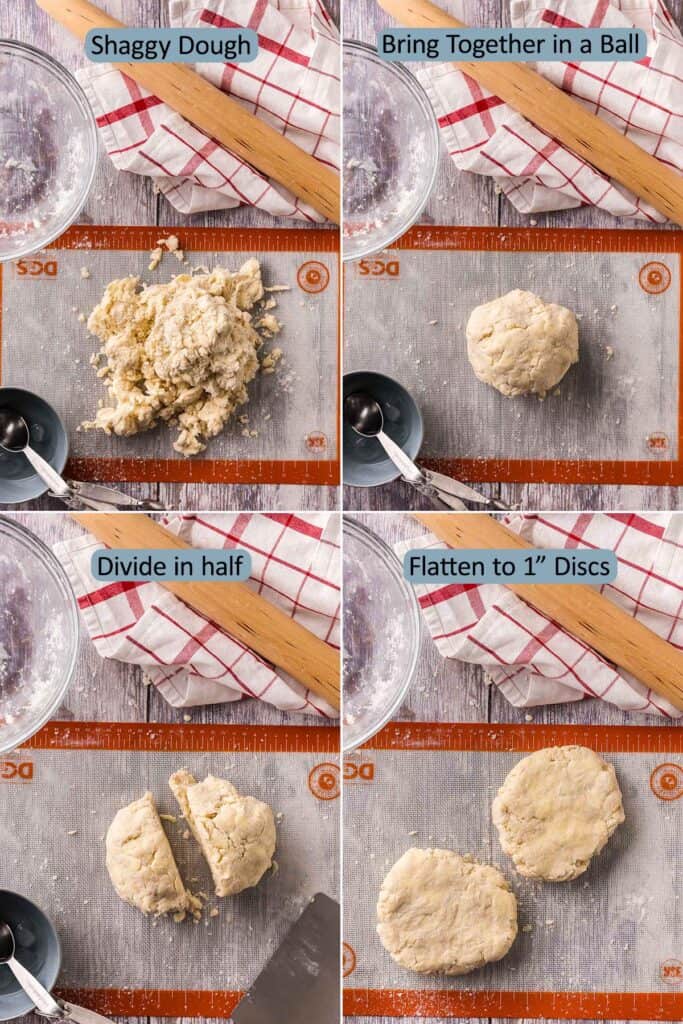
Divide the dough into two equal portions. Shape each into a 1-inch-thick disc, wrap tightly in plastic wrap, and refrigerate for 1–2 hours. The dough can be refrigerated for up to 48 hours or frozen for up to 3 months (see notes on freezing).
If you’re ready to line a pie plate or par-bake the crust, continue below.
Rolling out the Pie Dough in this Pie Crust Recipe
Lightly flour your work surface and rolling pin. Place one chilled dough disc on the surface and lightly flour the top. Let it rest about 5 minutes to soften slightly. (A silicone rolling mat can help prevent sticking.)
Place the rolling pin in the center of the dough and roll outward. Return to the center and roll in the opposite direction. Rotate the dough 90 degrees and repeat, always rolling from the center outward. Flip the dough occasionally and add flour as needed to prevent sticking.
Continue rolling until the dough forms a rough circle. If it loses shape, gently reshape it with your hands.
To size the dough, invert your pie plate over it. You’ll want about 2 inches of excess dough all around.
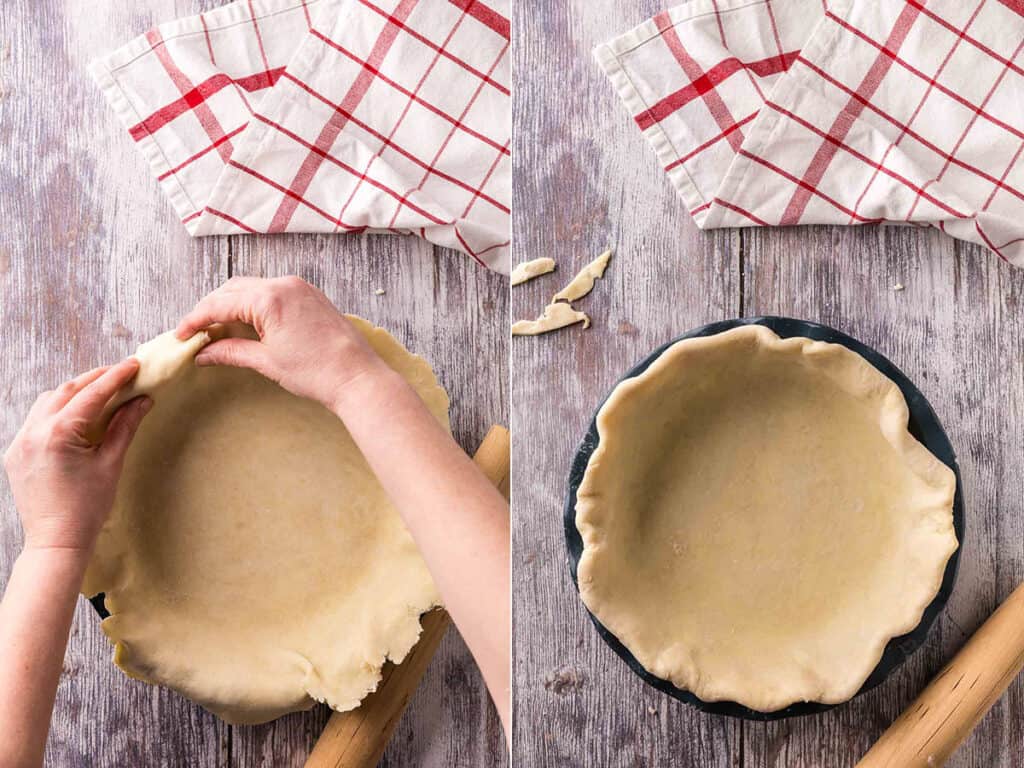
Transfer the dough by rolling it loosely around the rolling pin, then unrolling it over the pie plate.
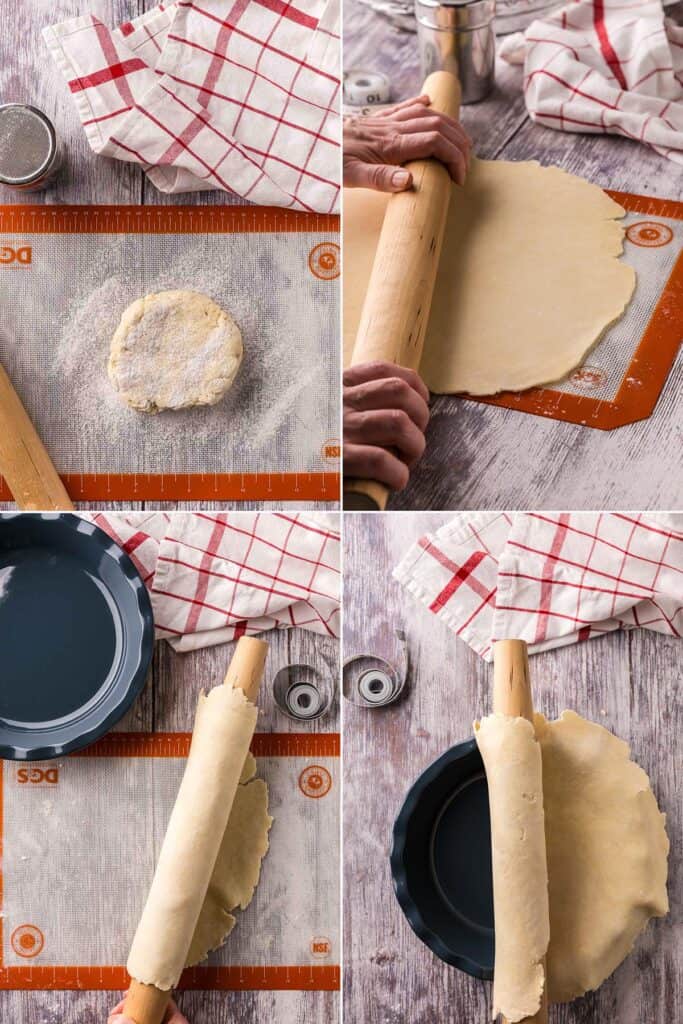
Do not stretch the dough. Lift the edges and let gravity ease it into place, leaving the excess overhanging. Chill the lined pie plate in the refrigerator for about 10 minutes.
Remove from the fridge and gently press your finger into the crease where the bottom meets the sides of the plate to help set the dough.
In this pie crust recipe, you want 1–1½ inches of overhang around the edge. Trim excess with kitchen shears if needed. If any areas are short, patch with trimmed dough and pinch gently to seal.
Crimping a Fluted Edge Pie Crust
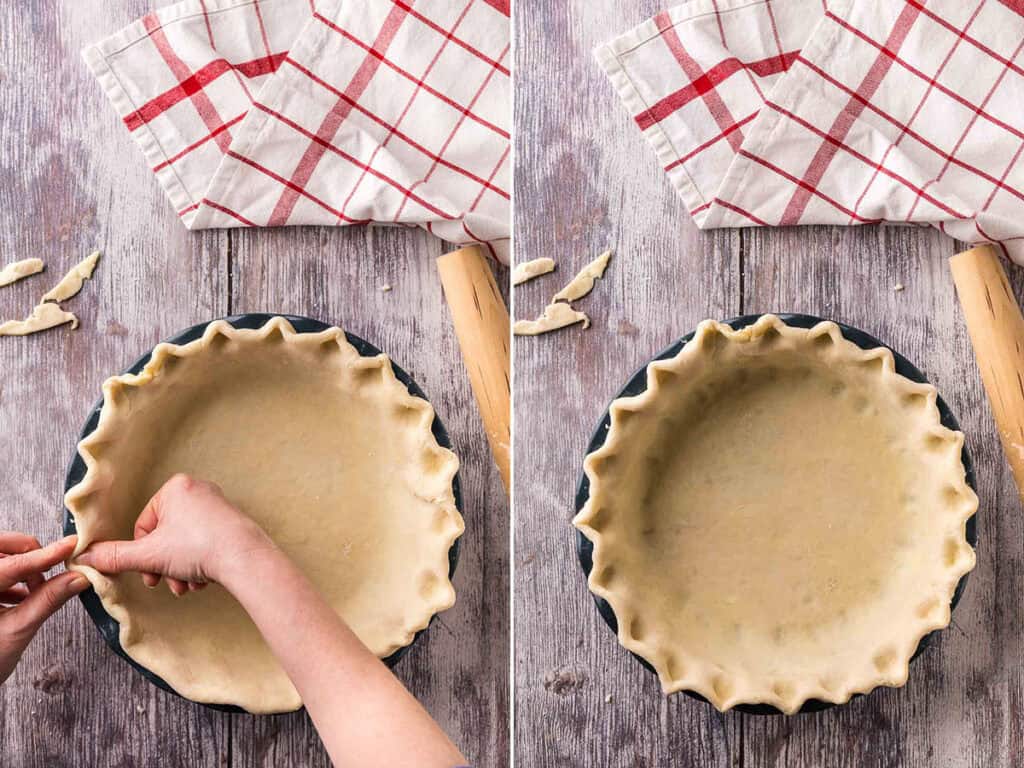
Lift the overhang slightly and fold it under itself so it rests just inside the rim, creating a thicker edge with some height. Work your way around the entire crust.
To crimp, press your thumb horizontally into the dough while pressing it into the “V” formed by the thumb and forefinger of your other hand. Apply slight downward pressure to help seal the crust to the rim. Continue around the pie.
If baking with a filling right away, docking isn’t necessary. For par or blind-baking, dock the bottom and sides all over with a fork to prevent puffing. Cover loosely and freeze for 15 minutes to firm the butter.
Your pie shell is now ready for recipes calling for an unbaked crust. For par-baking or blind-baking, continue below.
Par-Baking or Blind-Baking the Pie Crust
Par-baking partially bakes the crust for fillings that will return to the oven (pumpkin pie, quiche).
Blind-baking fully bakes the crust for no-bake fillings (cream or fresh fruit pies). Both methods prevent soggy bottoms.
Preheat the oven to 425°F (220°C).
Cut a piece of parchment large enough to cover the crust and go above the edges. Crumple and uncrumple it, then place it in the chilled shell. Fill completely with pie weights or dried beans, making sure they reach near the top of the sides to prevent shrinkage.

Bake for at least 15 minutes. Different pie weights transfer heat differently, so timing may vary. I use mung beans as pie weights and it takes 24 minutes before I can remove the beans and parchment. Lift the parchment to check the bottom: if it looks very wet, return the weights and bake 3–5 minutes longer. Repeat until the bottom looks damp but set.
Remove the parchment and weights and continue baking. If any areas puff up, dock them quickly with a fork and return the crust to the oven.
For a par-baked crust: Bake 4–7 minutes, until the surface no longer looks moist or shiny.
For a fully blind-baked crust: Bake 10–12 minutes, or until lightly golden.
Cool completely before using.
The baked shell can also be frozen. Wrap tightly in plastic wrap and foil or plastic wrap and place in a freezer bag and freeze for up to 3 months. Many recipes can be baked directly from a frozen par-baked crust.
Pro Tips
- Shingling the butter is a process that flattens the butter into thin and wide “leaves” of butter instead of small balls/chunks. This aids in making a flakey crust and is easy to do. Walnut size pieces may seem larger than what you are used to, but trust the process, it is great for flakey crusts.
- The amount of water you need to hydrate the dough properly can vary. Many factors can influence this including the brand of flour, and the humidity on the day of baking. So don’t worry so much on the exact amount but more on the feel and look of the dough.
- The points you need to chill your dough – after you make the dough discs – chill for 1-2 hours. After you line your pie plate, leave the overhanging dough – chill for 10 minutes to let the gluten relax. After it is fully assembled and crimped – chill for 15 minutes in the freezer or 30 minutes in the fridge, to harden the fat before baking.
- I use mung beans as pie weights and have to bake my shells longer than the 15 minutes most people do when using ceramic pie weights. So depending on what you use as pie weights will likely impact the baking time. If you remove the pie weights too early before the pie dough has set, it will shrink. A little shrinkage is normal, as butter contains water which evaporates during baking.
FAQs
How Do You Know When You’ve Added Enough Water to the Dough? The dough shouldn’t have dry flour areas, but it should also not be sticky. It won’t be super homogenous, but it should stick together in a ball if you press it together.
Is salted butter or unsalted butter better to use? Either can be used. I like the ease of salted butter, I always have it on hand. Many people prefer unsalted butter so they can control the amount of salt in the crust, but they end up adding the same amount of salt that is already in salted butter. If you use unsalted butter, add 1 teaspoon of table salt.
Is this pie crust sweet? No. Although sugar is added, it does not taste sweet. The sugar balances the salt in the crust. This dough can be used for either sweet or savory pies. But if you prefer, you can leave the sugar out.
Can this dough frozen? Yes, once you make the 1″ thick dough discs, you can wrap them tightly in plastic wrap then in foil. Or you can place the plastic wrapped discs in a zipper top bag. The dough can be frozen for up to three months. Simply thaw overnight in the fridge before using.
Can I freeze a par-baked or blind-baked pie crust? Yes, again wrap in plastic wrap and foil or a zipper top bag. Freeze for up to 3 months.
What sort of pies can you make with this crust? You can make virtually any pie you can think of. Chicken pot pie, quiche, fresh blueberry pie, or a baked strawberry rhubarb pie. The options are endless.
Follow Me On Social Media
If You Liked This Pie Crust Recipe…
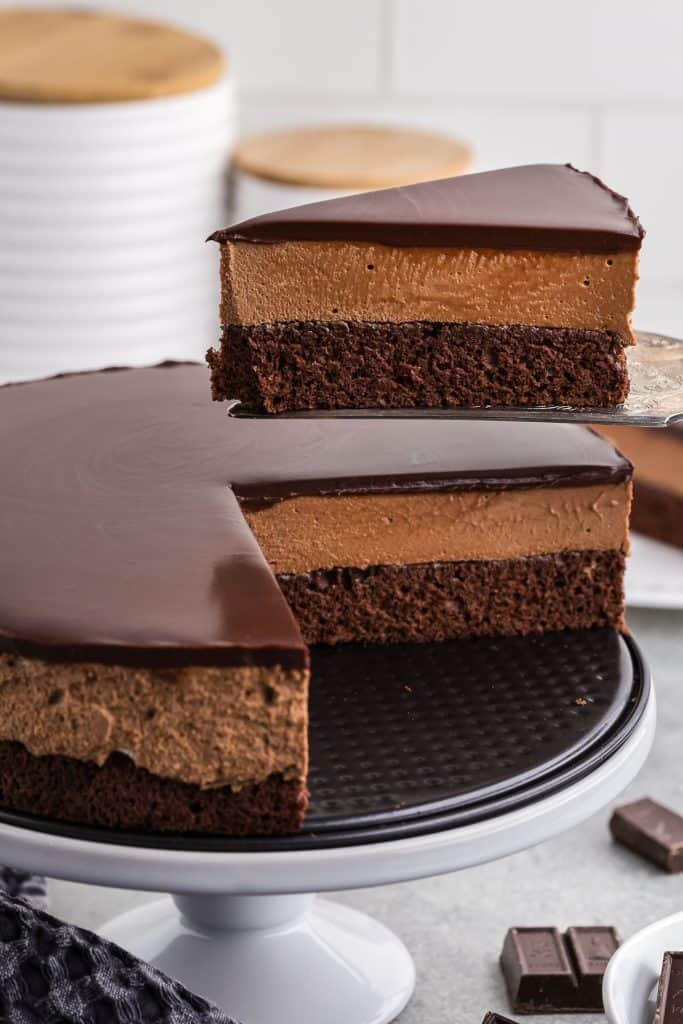
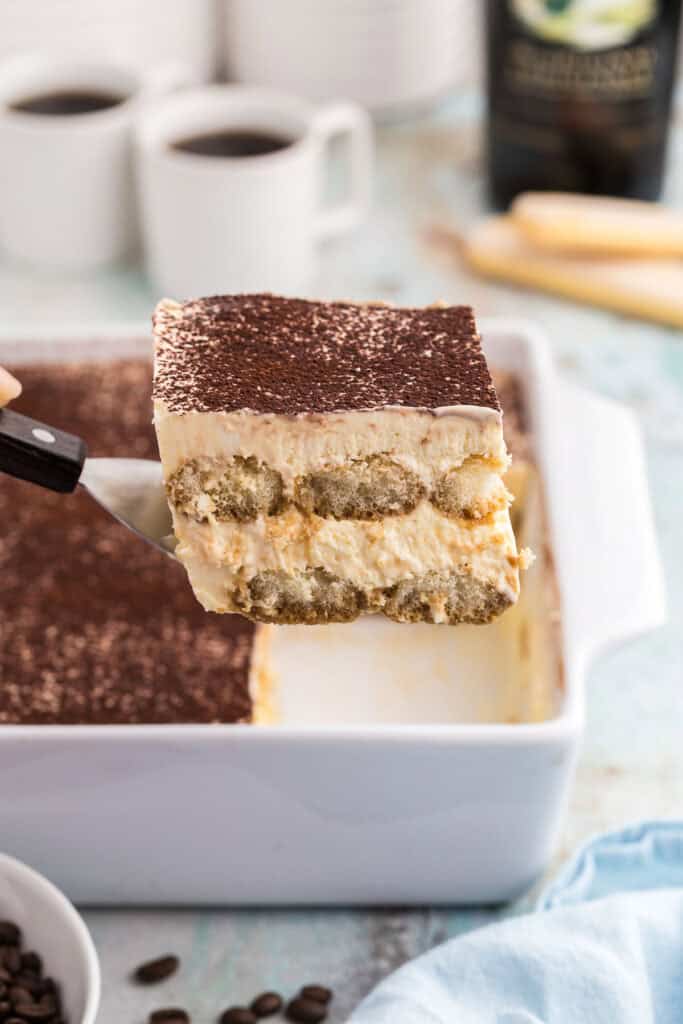
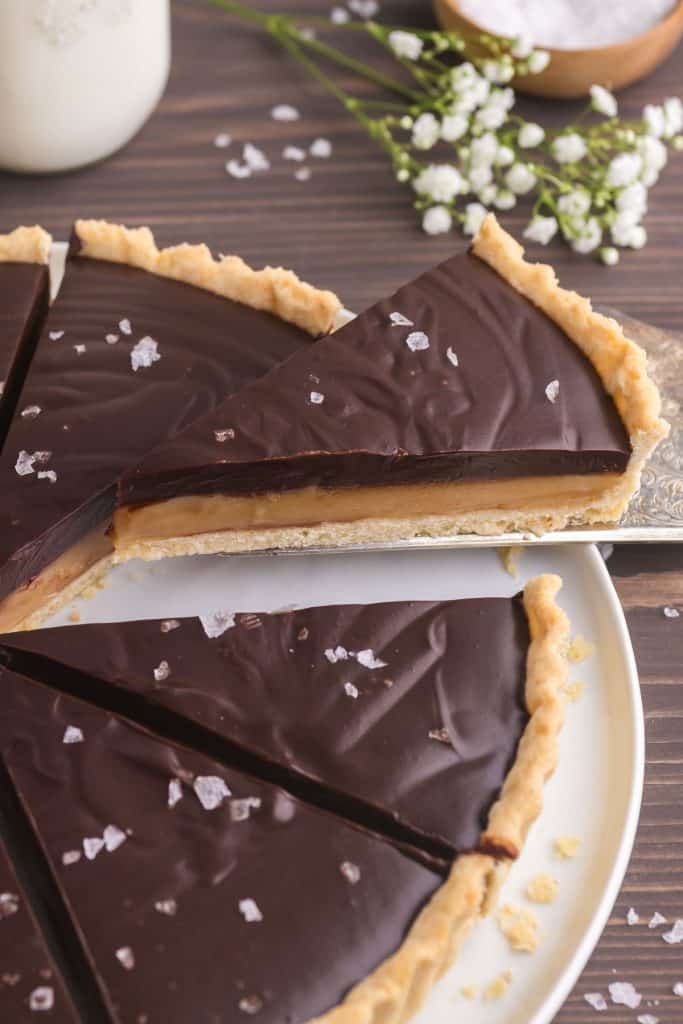
If you liked this recipe, please consider rating the recipe and leaving a comment below – I love to hear how people get on with my recipes and I truly make an effort to respond to everyone who takes the time to comment. Other desserts you might want to check out include: Baileys Tiramisu, Chocolate Chocolate Mousse Cake, Chocolate Caramel Tart.
Want weekly recipes straight to your inbox?
Homemade Pie Crust (double crust)
Equipment
- Measuring Cups
- Measuring Spoons
- Rolling Pin
- Silicone Mat optional but makes rolling easier
- 9" Pie Plate I like glass pyrex and ceramic plates
- Parchment Paper if you will be blind baking the crust
- Pie Weights if you will be blind baking the crust
Ingredients
- Ice Cubes
- ½ cup Water (as needed)
- 2 ½ cups All-purpose Flour (spooned and levelled) (322g)
- 1 tbsp Granulated Sugar
- ½ lb Salted Butter (cold and cut into cubes) (227g)
Instructions
- See blog post for more detailed instructions if needed.
Making the Dough
- Chill water: Place ½ cup water in a bowl with ice and set aside.½ cup Water, Ice Cubes
- In a large mixing bowl stir together flour and sugar.2 ½ cups All-purpose Flour (spooned and levelled), 1 tbsp Granulated Sugar
- Cut in butter: Toss cold butter with the flour mixture to coat. Flatten each cube between your fingers (“shingle”) until you have butter pieces of mixed sizes, up to walnut-sized. Keep dough cold. See post for more details.½ lb Salted Butter (cold and cut into cubes)
- Add water: Add 5 tbsp ice water and gently toss to hydrate. Add more water 1 tbsp at a time until a shaggy dough forms that holds together when squeezed.
- Form dough: Gently press dough together (do not knead aggressively). Divide into 2 discs, wrap, and chill 1–2 hours.
Prepping Dough in Pie Plate
- Roll out: On a floured surface, roll one disc into a circle about 2 inches larger than your inverted pie plate. Transfer to the plate without stretching. Chill 10 minutes.
- Trim & crimp: Trim to 1–1½ inches overhang, fold under, and crimp edges. Dock bottom and sides if par- or blind-baking. Freeze 15 minutes.
Par and Blind Baking
- Bake: Heat oven to 425°F (220°C). Line crust with crumpled parchment and fill with pie weights or beans.
- Initial bake: Bake 15–24 minutes, until the bottom looks set but slightly damp. Remove weights and parchment.
Finish Baking
- Par-bake: Bake 4–7 minutes more, until dry-looking.
- Blind-bake: Bake 10–12 minutes more, until lightly golden.
- Cool: Cool completely before filling. Baked shells may be frozen up to 3 months.
Notes
- Shingling the butter is a process that flattens the butter into thin and wide “leaves” of butter instead of small balls/chunks. This aids in making a flakey crust and is easy to do. Walnut size pieces may seem larger than what you are used to, but trust the process, it is great for flakey crusts.
- The amount of water you need to hydrate the dough properly can vary. Many factors can influence this including the brand of flour, and the humidity on the day of baking. So don’t worry so much on the exact amount but more on the feel and look of the dough.
- The points you need to chill your dough – after you make the dough discs – chill for 1-2 hours. After you line your pie plate, leave the overhanging dough – chill for 10 minutes to let the gluten relax. After it is fully assembled and crimped – chill for 15 minutes in the freezer or 30 minutes in the fridge, to harden the fat before baking.
- I use mung beans as pie weights and have to bake my shells longer than the 15 minutes most people do when using ceramic pie weights. So depending on what you use as pie weights will likely impact the baking time. If you remove the pie weights too early before the pie dough has set, it will shrink. A little shrinkage is normal, as butter contains water which evaporates during baking.
Leave a Reply