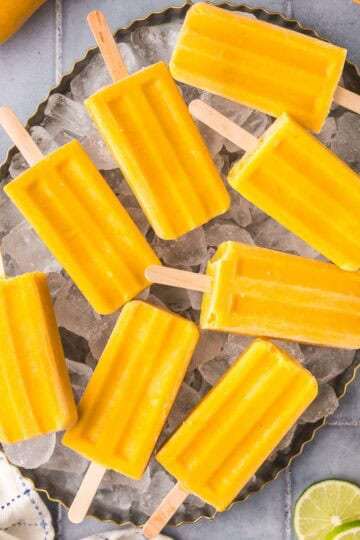
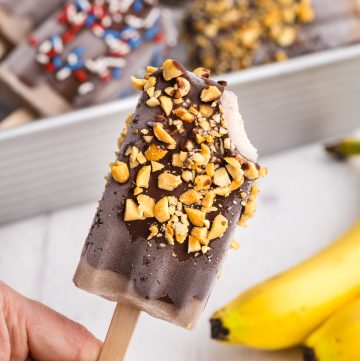
Banana Popsicles
When the summertime heat hits, having something cool and refreshing like these Banana Popsicles is a welcome treat! I add coconut milk for creaminess and a hint of the tropics. As an added bonus, bananas contain vitamin B6, vitamin C, and plenty of potassium - these treats are a win win.
One reader, Therese wrote - It's so hot here in Georgia, so I made this recipe today. My kids loved it! I will be making this again and again! ⭐⭐⭐⭐⭐
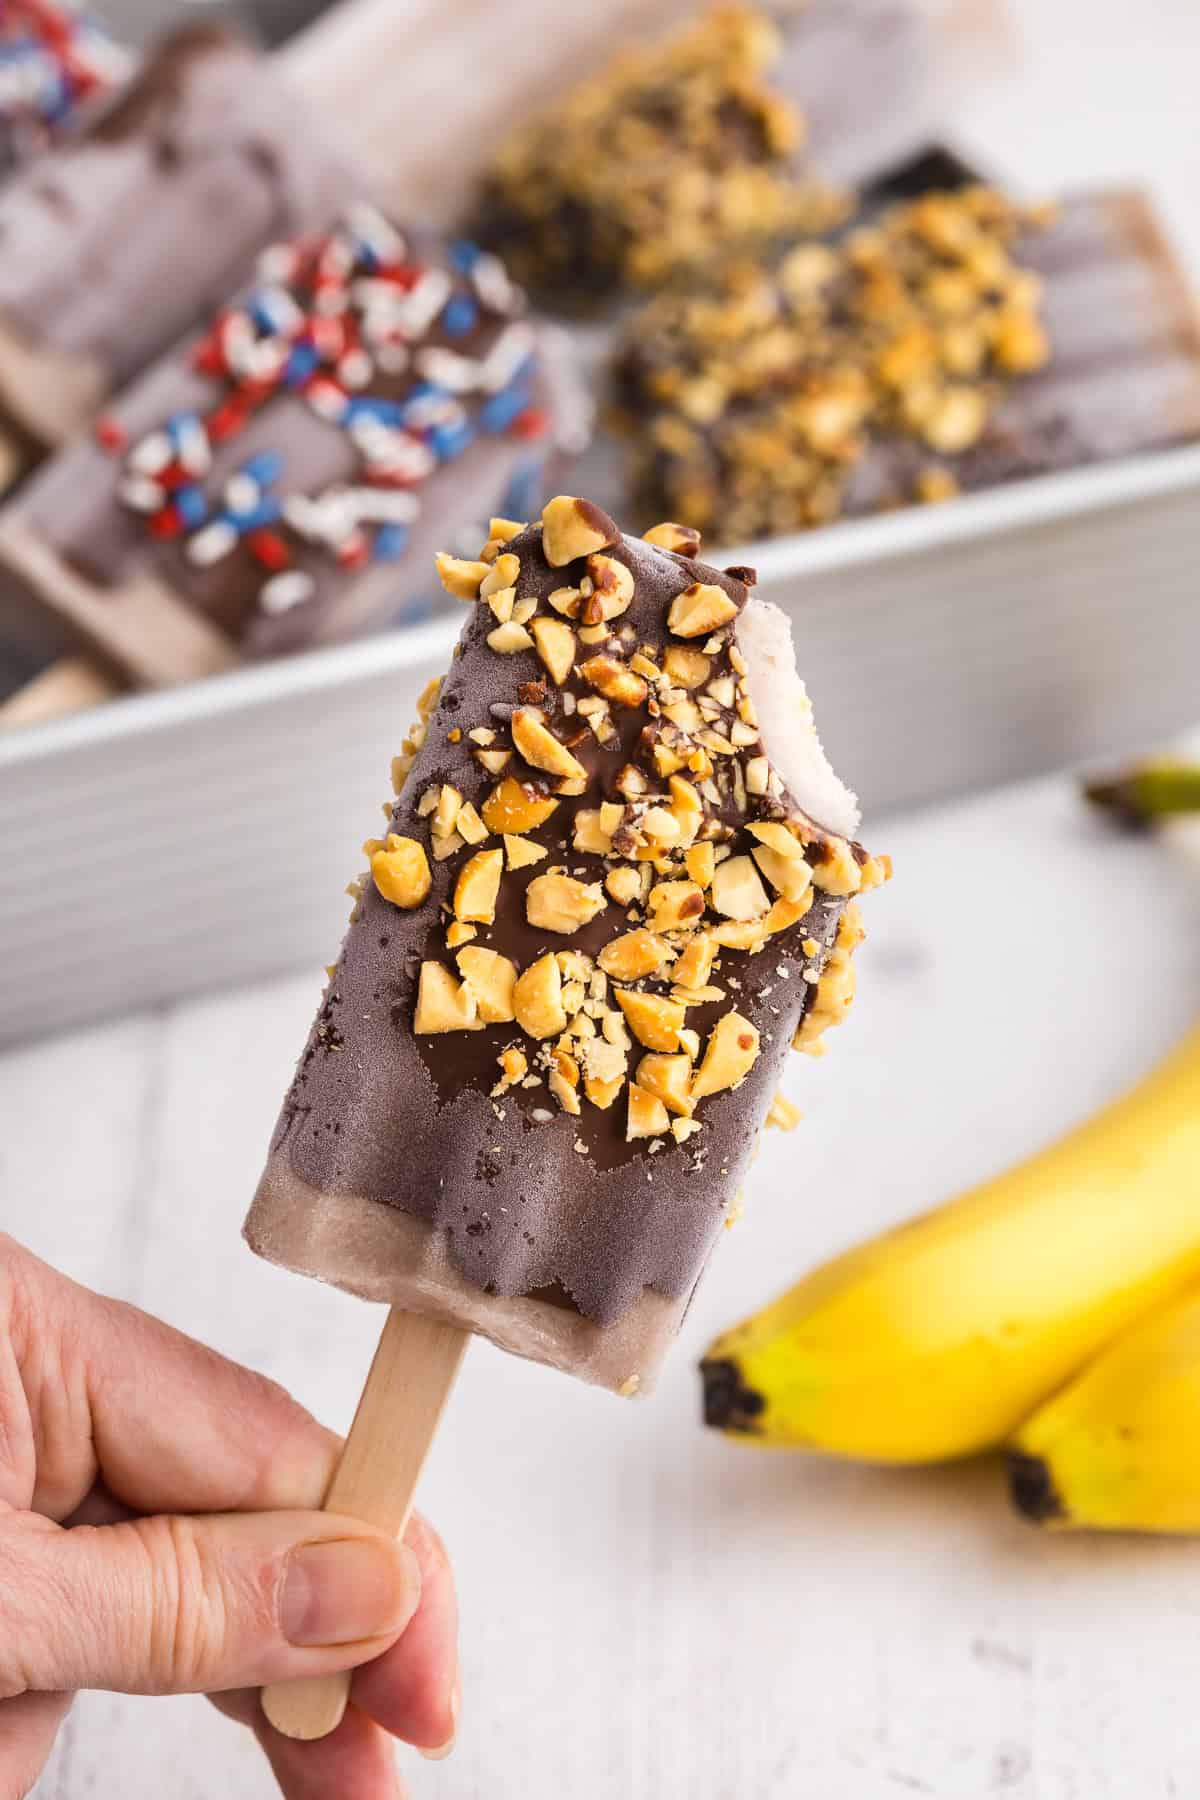
One of the things that always excited me about going to Disneyland was the frozen bananas. It might sound like an odd thing to get excited about, but I stand by it. The only downside? They were rock hard - probably to survive the hot sun. These banana popsicles, on the other hand, just need a minute or two to soften to the perfect, cool and creamy bite.
Jump to:
Ingredients
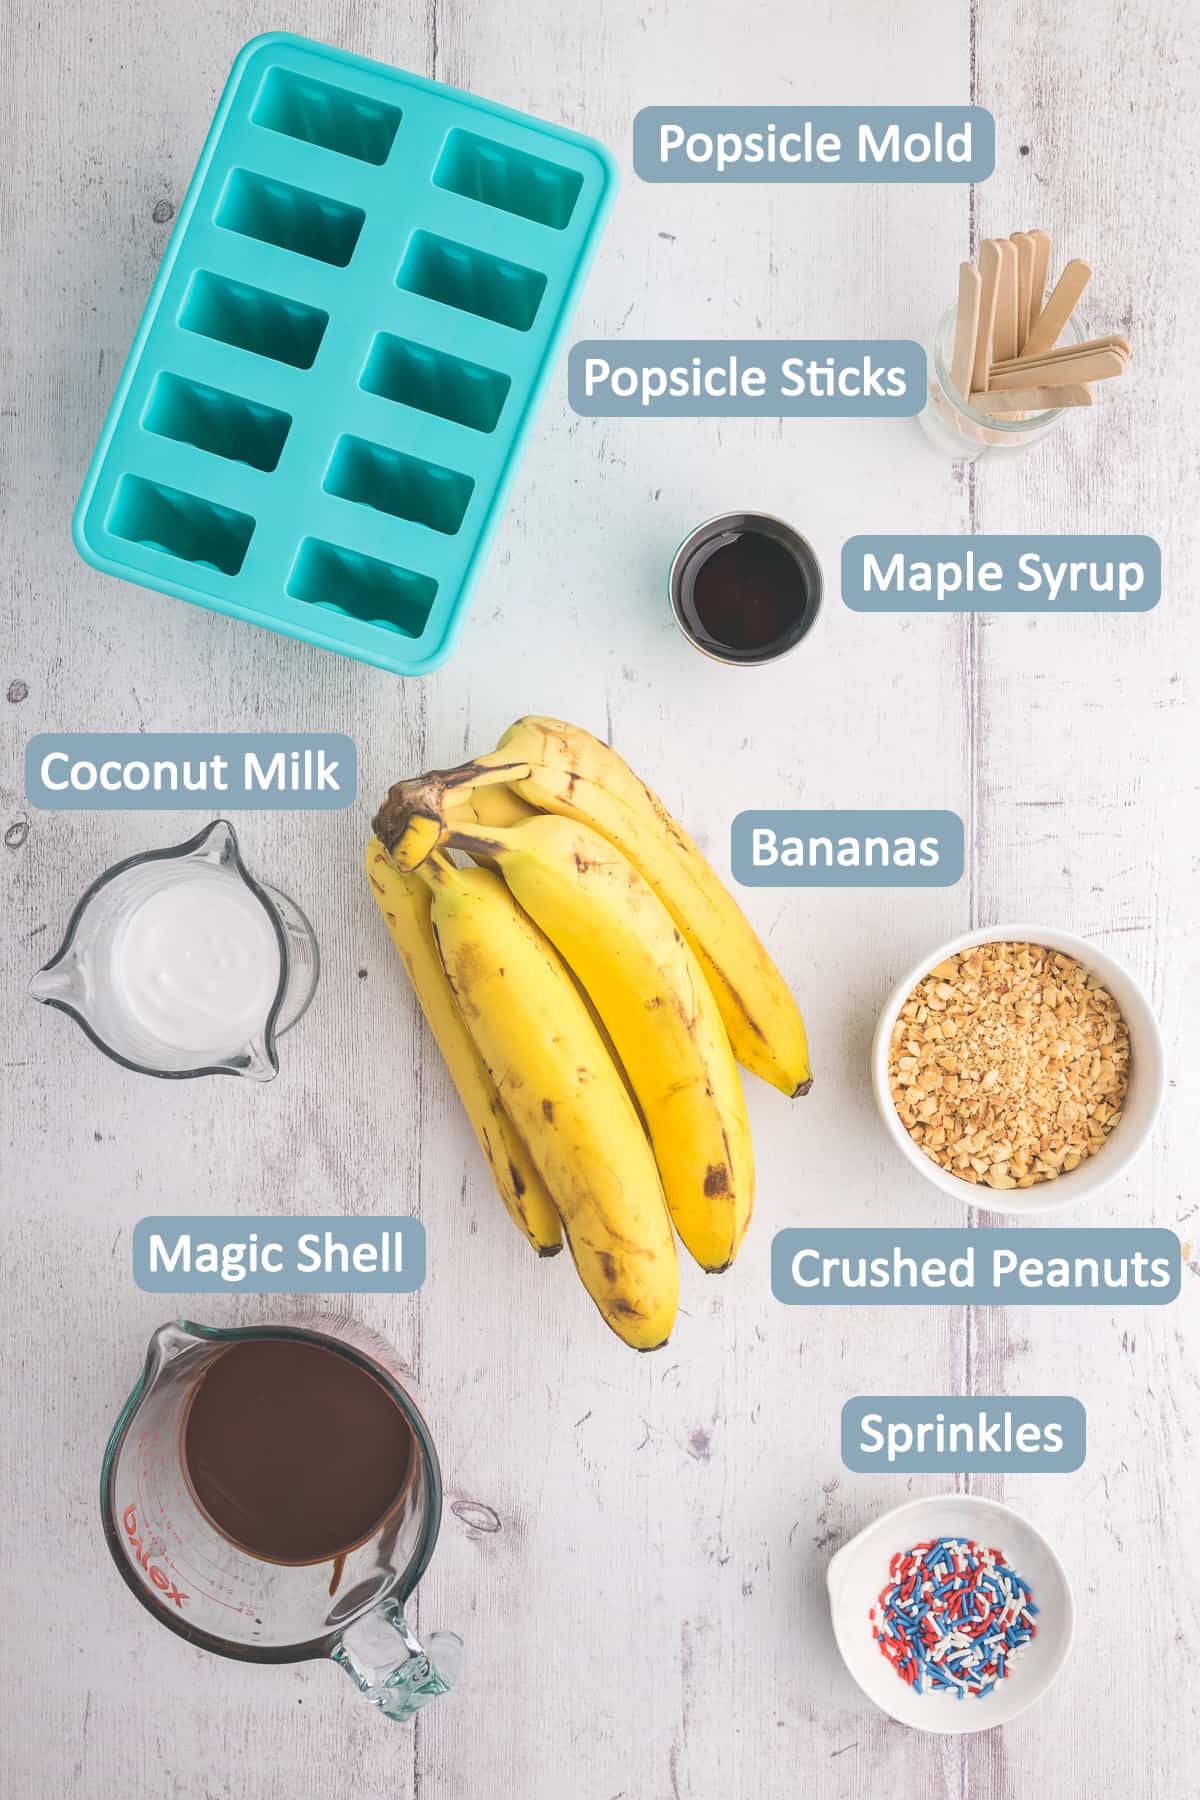
- Bananas - best to use ones that are starting to show brown spots, they will provide the best flavour IMO.
- Coconut milk - adds creaminess and a hint of the tropics. See Note 1 for substitutions.
- Maple syrup - depending on how ripe your bananas are, you may need to add a little sweetener. Honey or sugar could be substituted here as well.
- Magic Shell - homemade chocolate for dipping frozen items in or for pouring on ice cream (optional).
- Crushed peanuts, and or sprinkles for rolling the chocolate dipped banana popsicle in (optional)
Instructions
Combine all the popsicles ingredients into the blender, or you can use a potato masher.
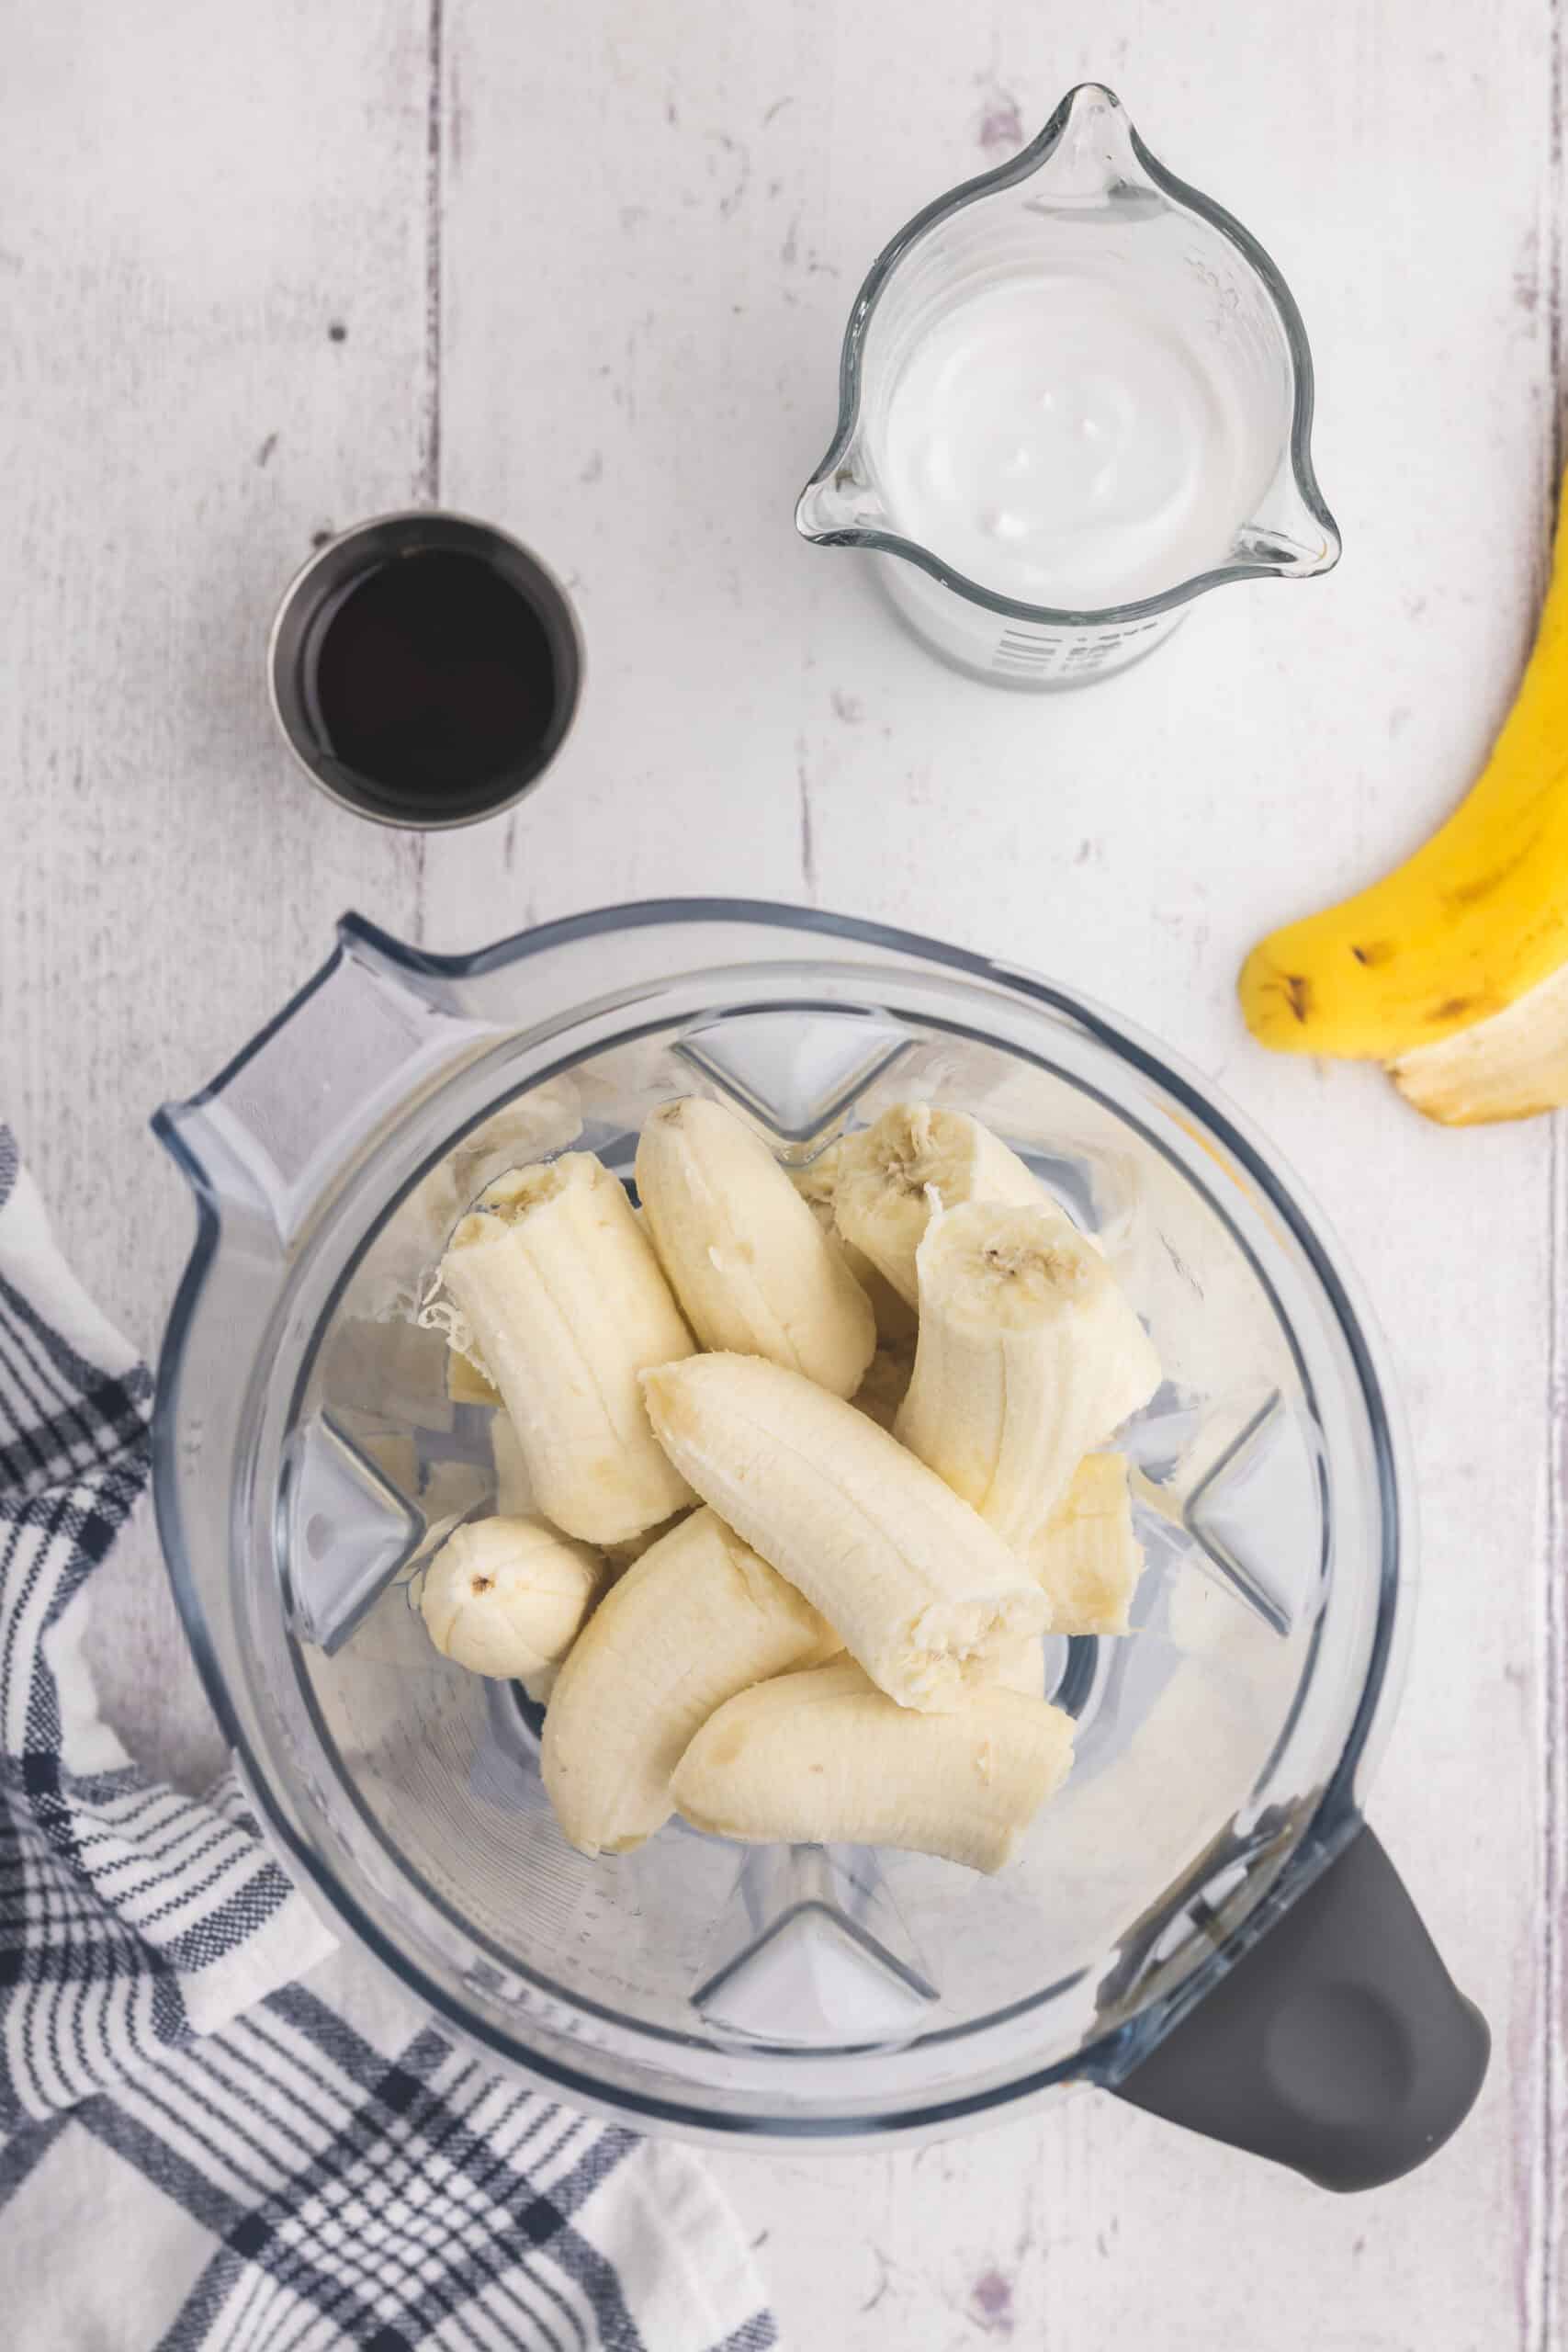
Step 1: In a blender combine bananas, coconut milk, and sweetener of your choice see note 2.
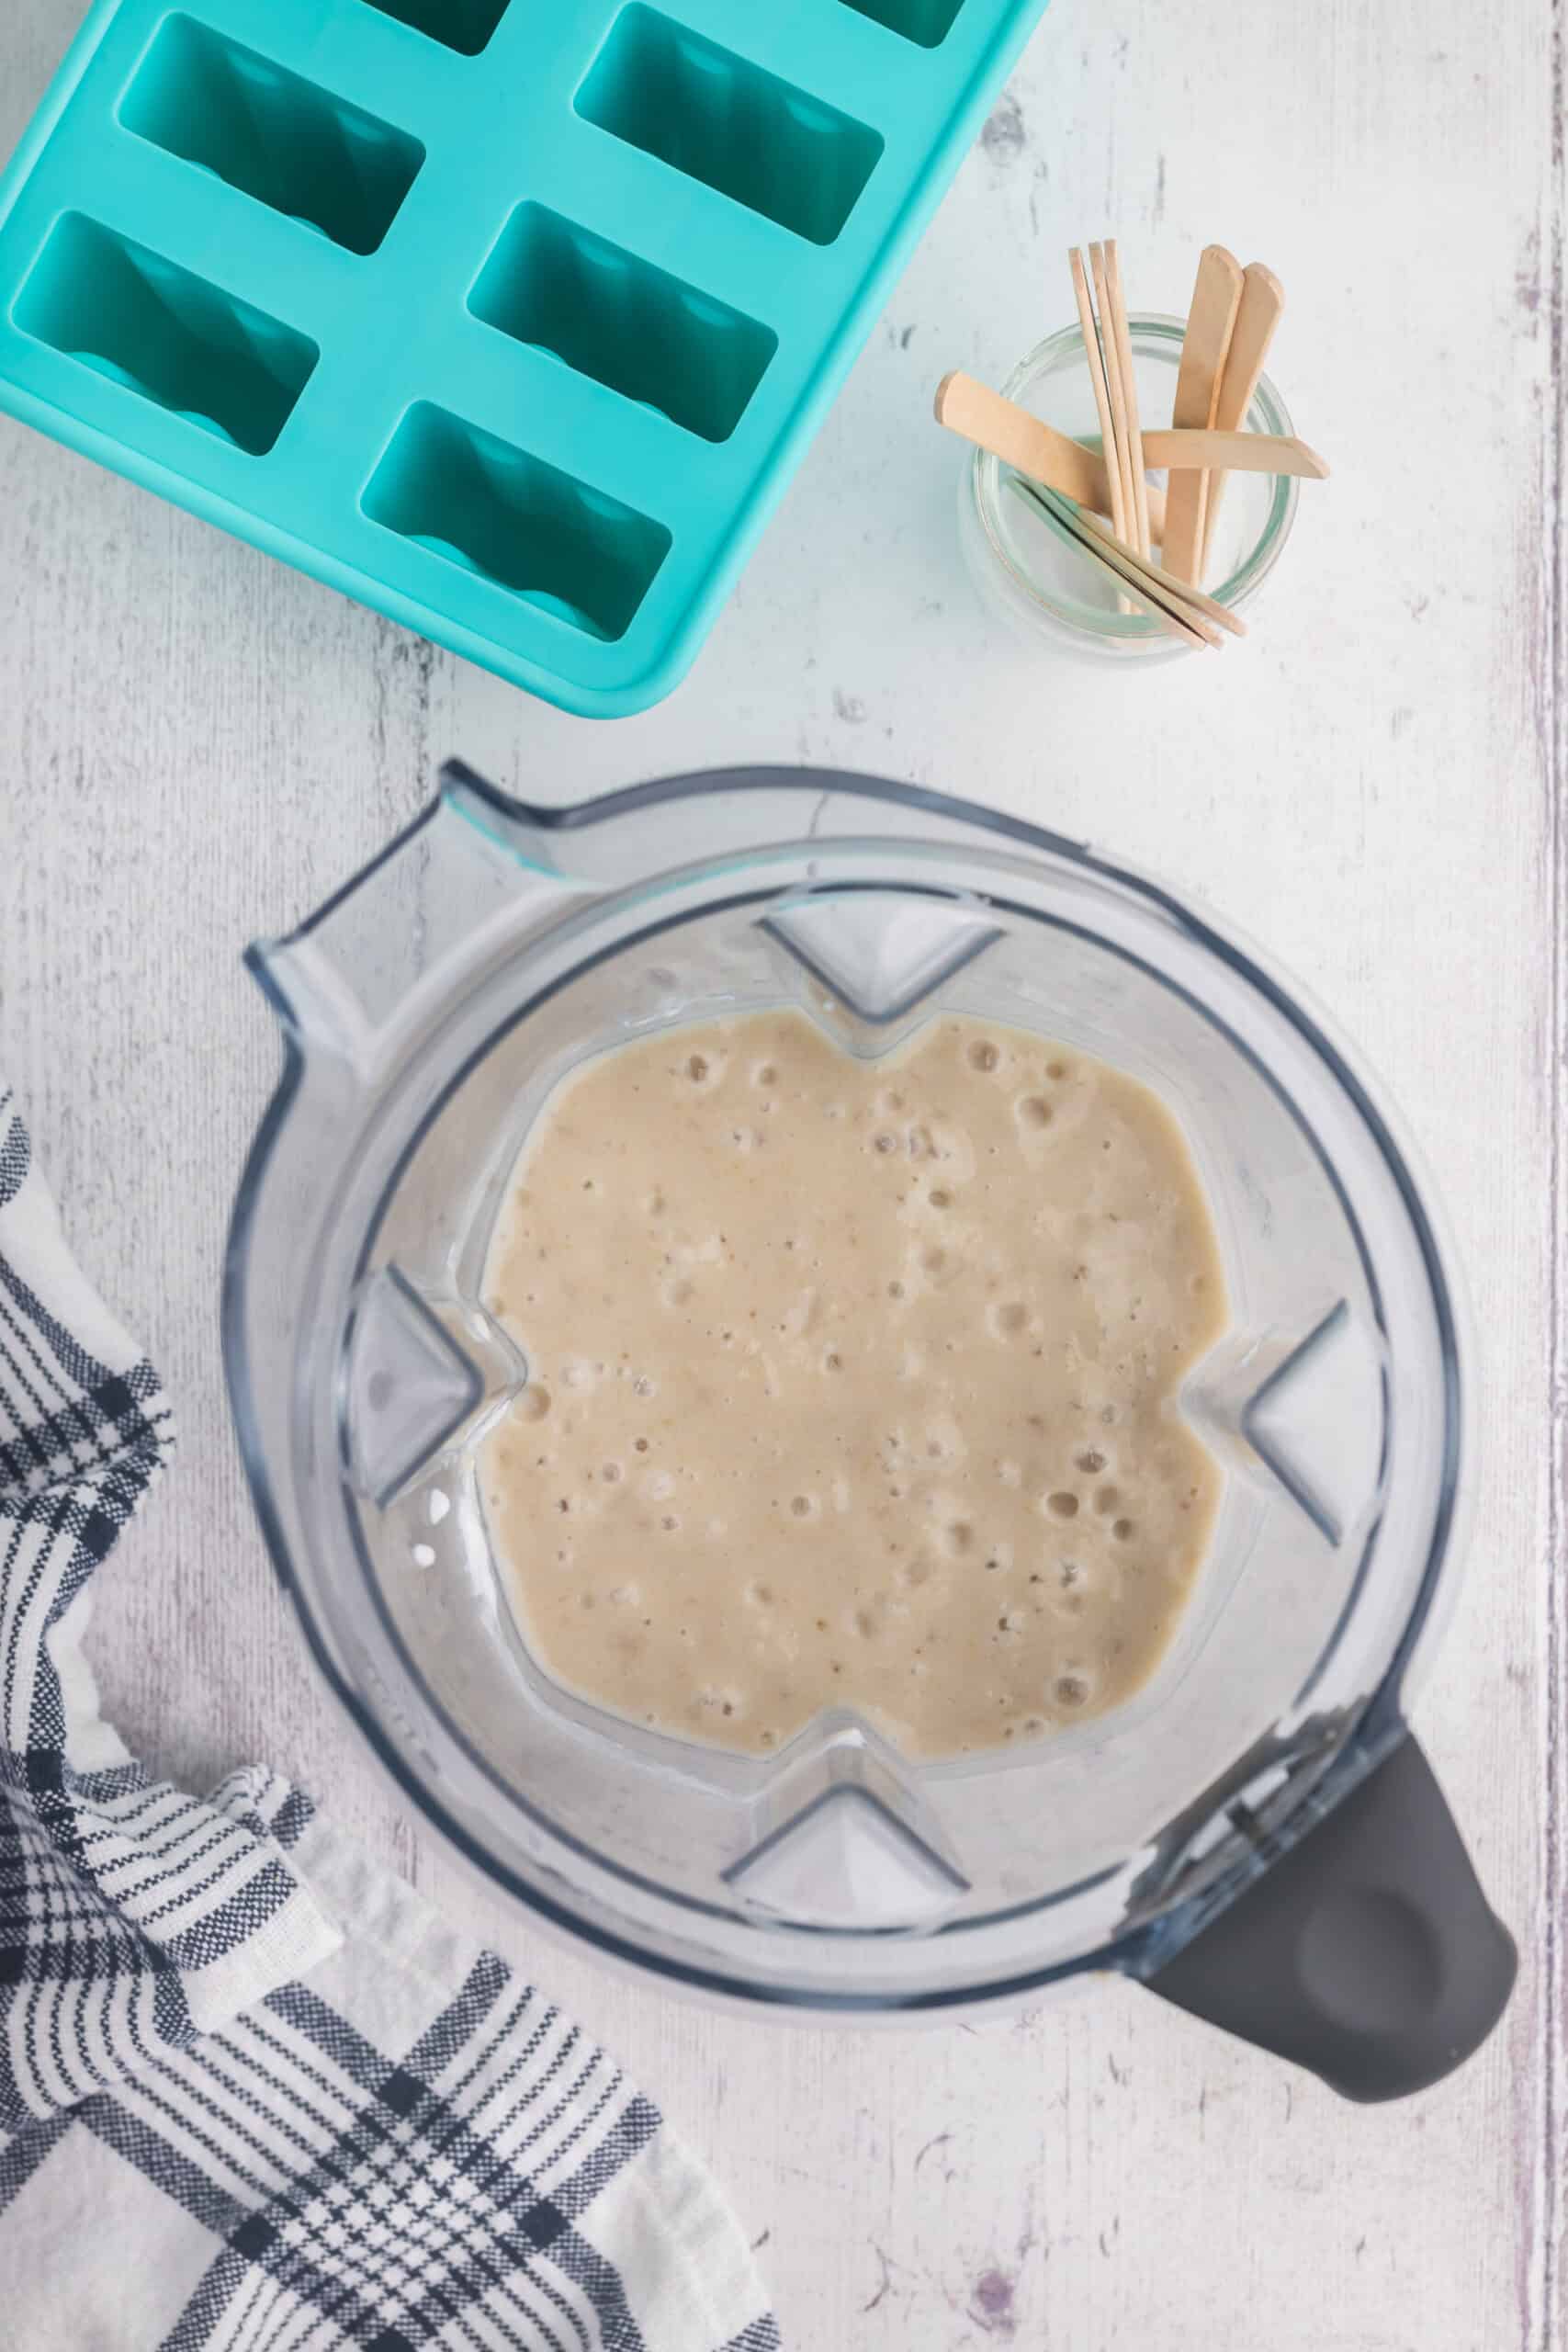
Step 2: Blend until smooth
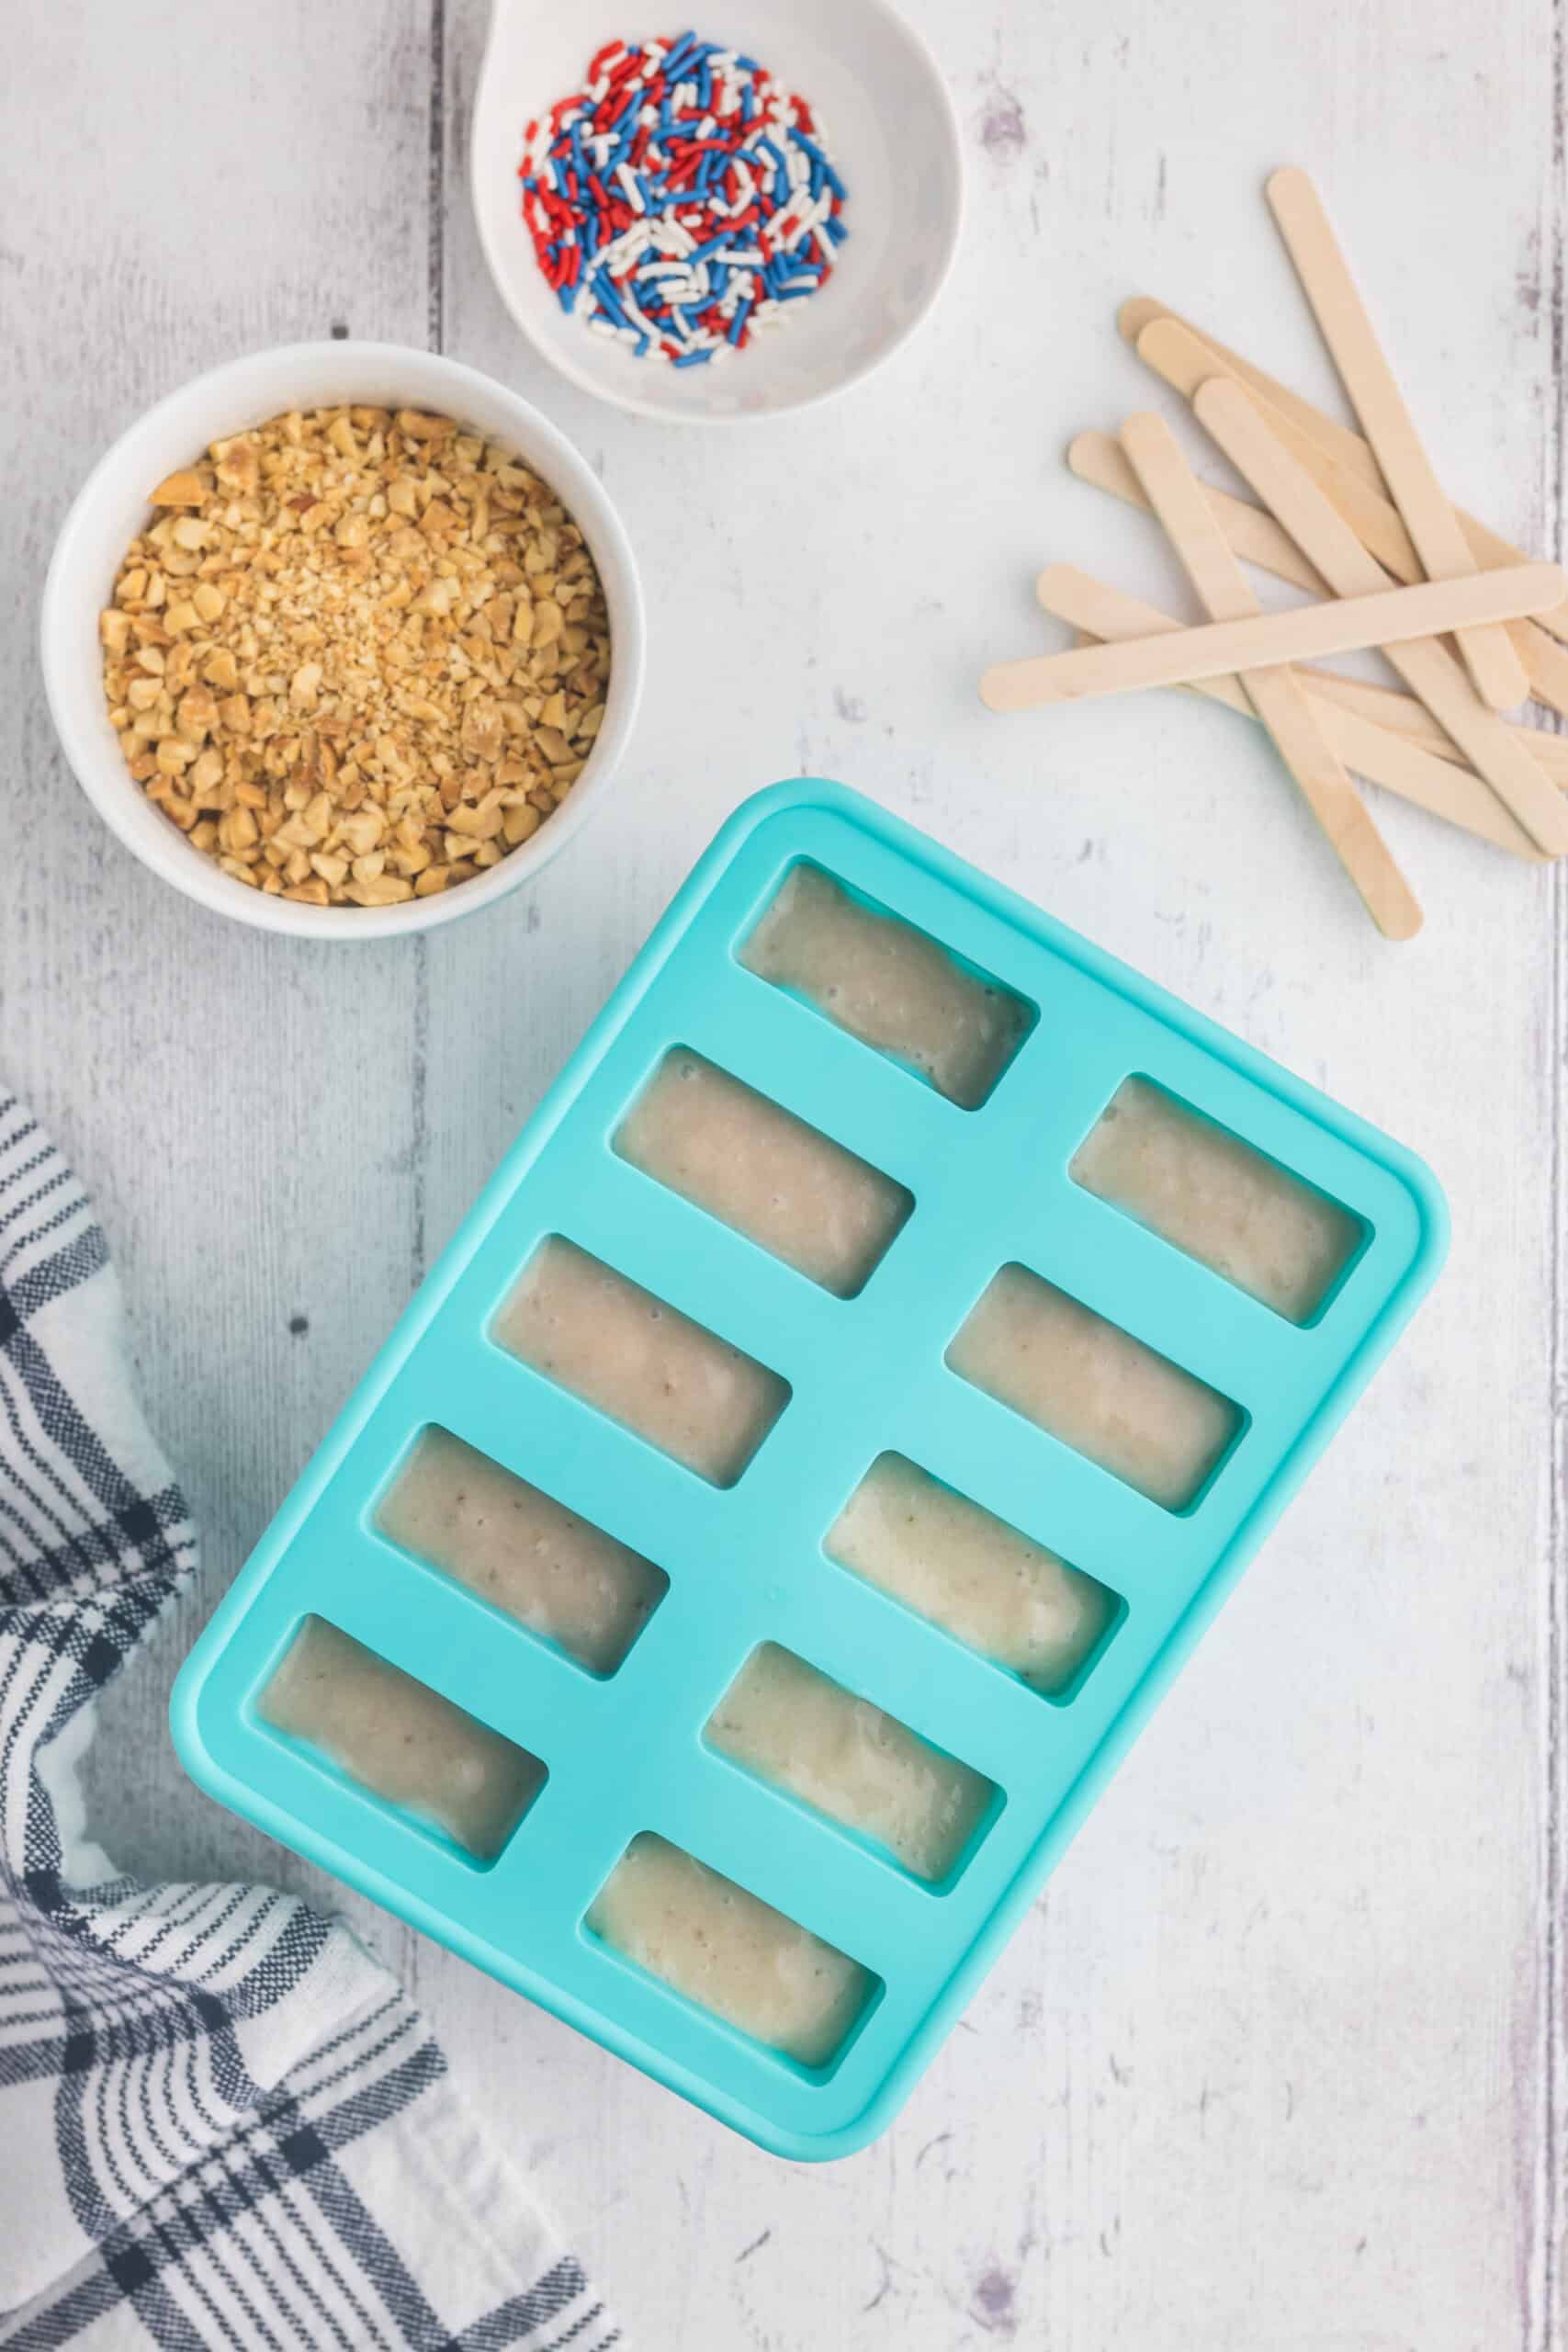
Step 3: Pour into popsicles molds leaving about ¼ space from the top.
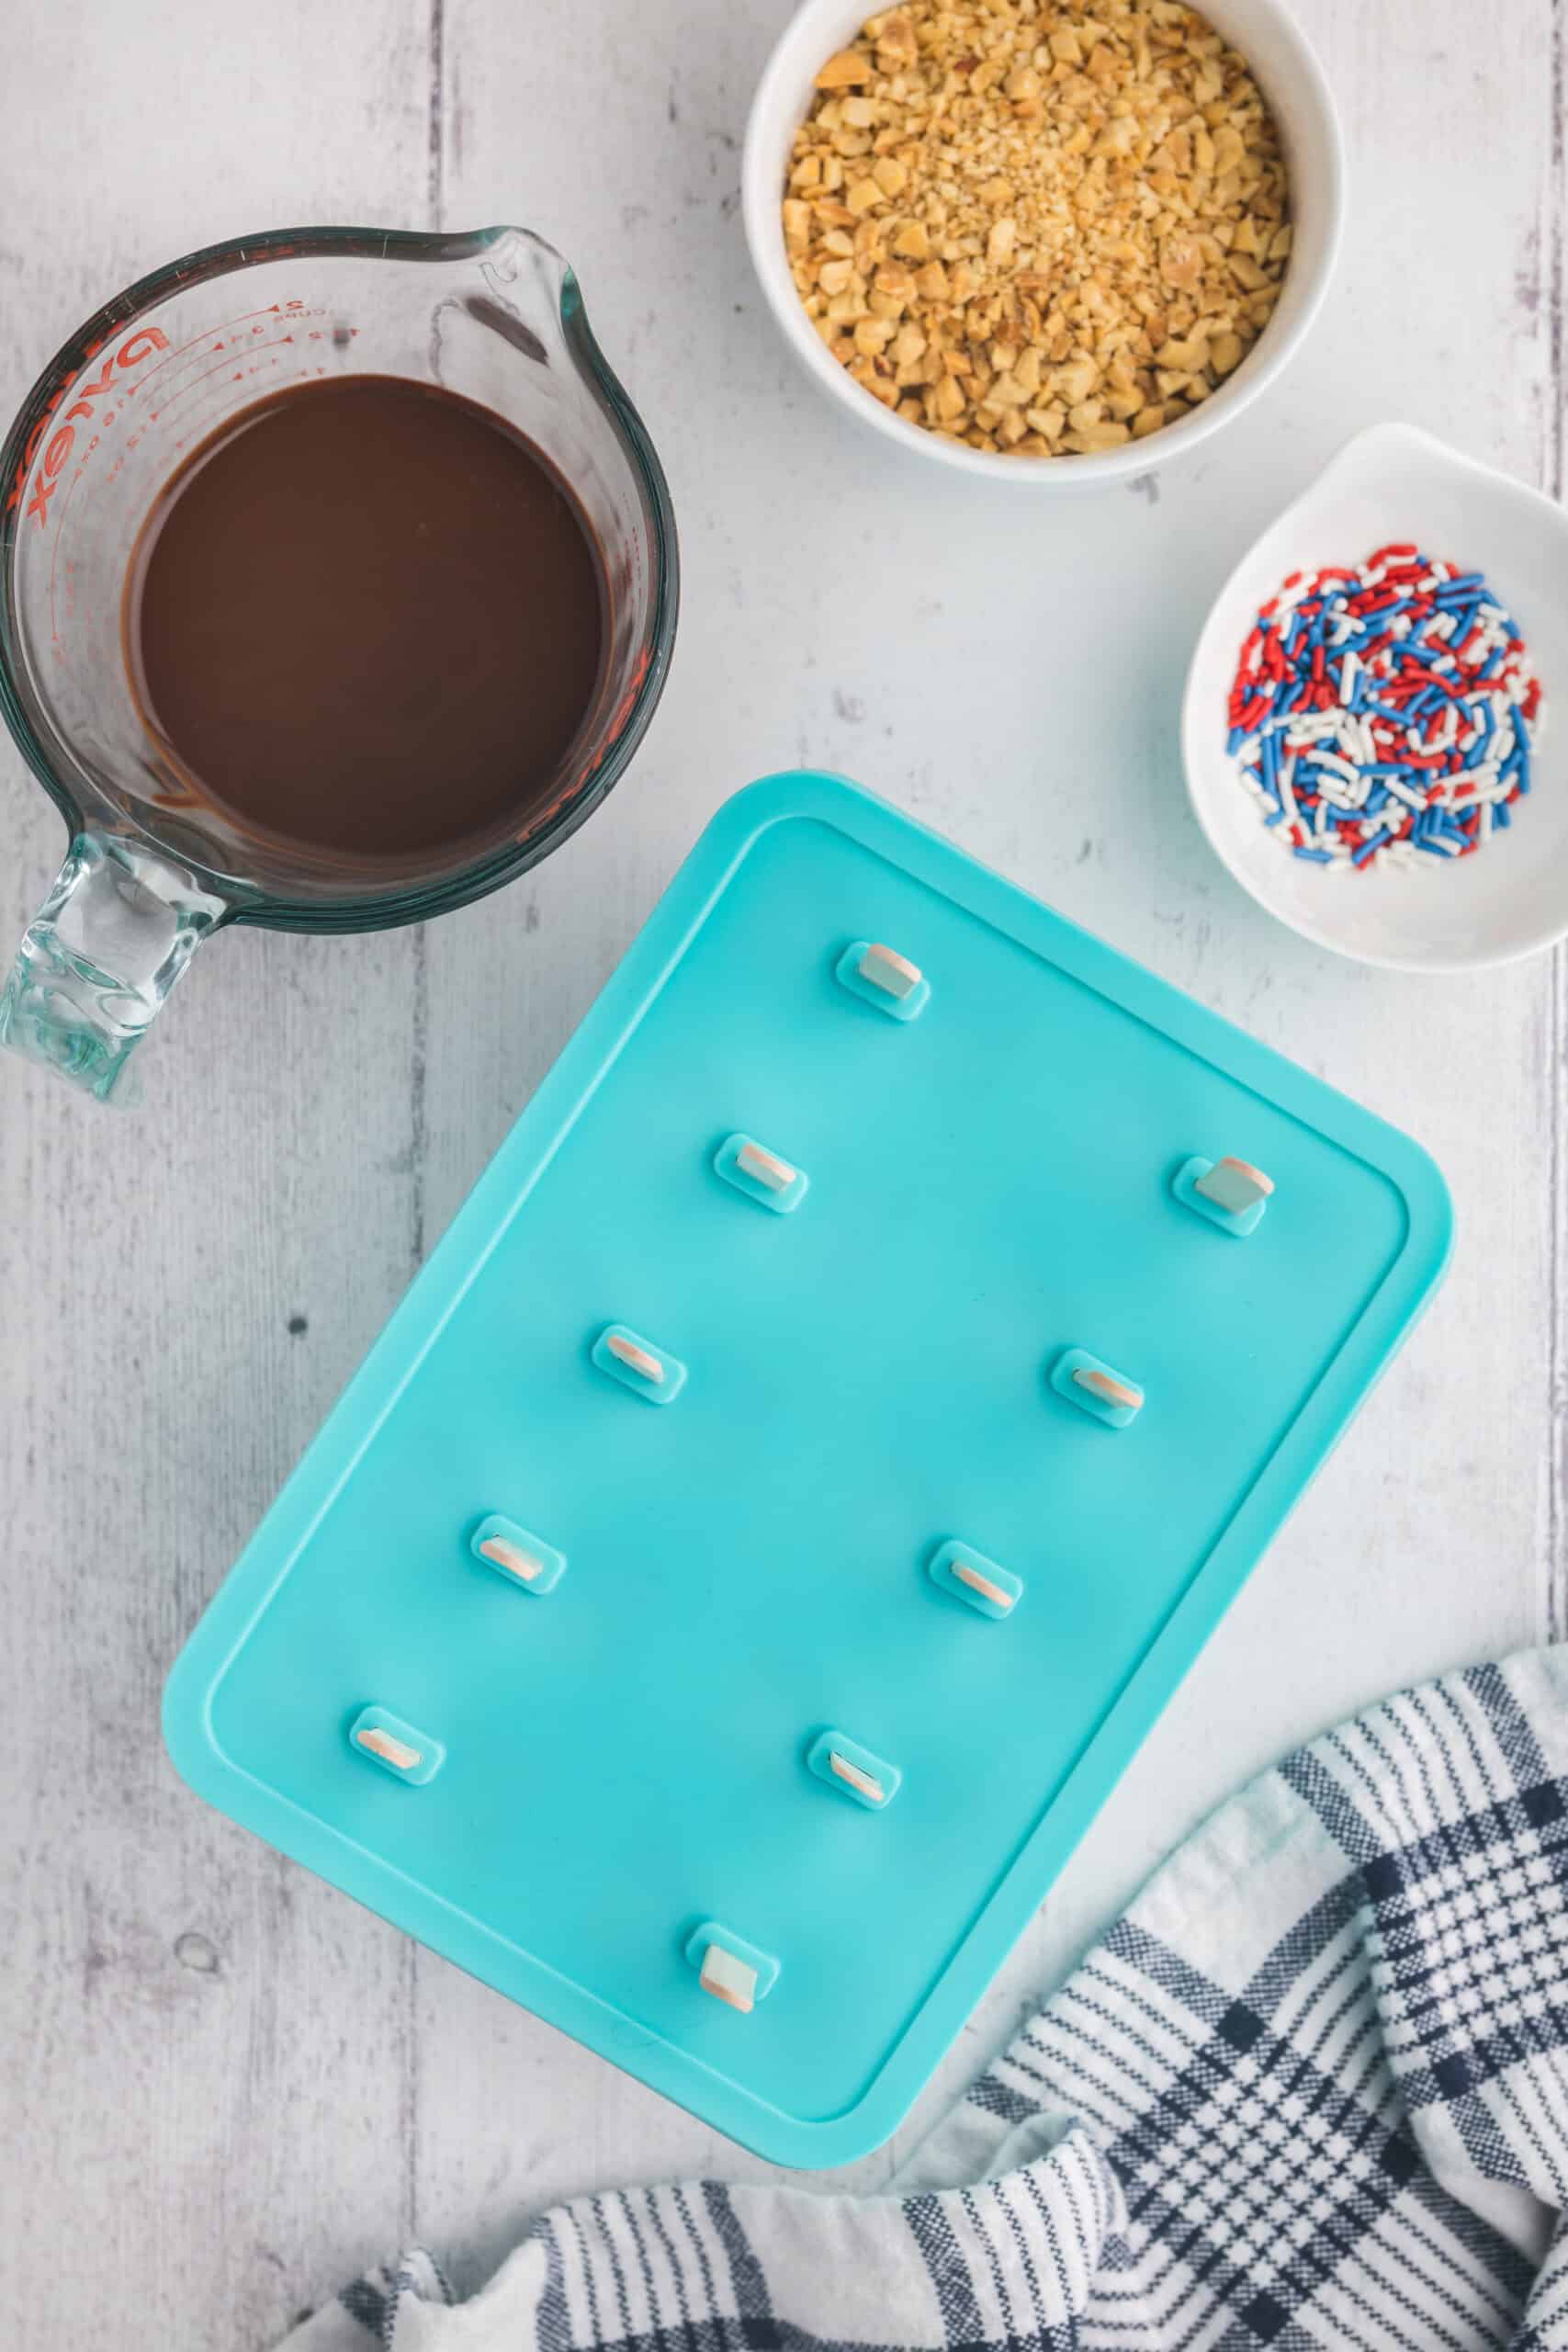
Step 4: Place on lid if using and add popsicles sticks. Place in the freezer for at least 7 hours.
Hint: Don't overfill the molds since the mixture will expands when it freezes.
Decorating
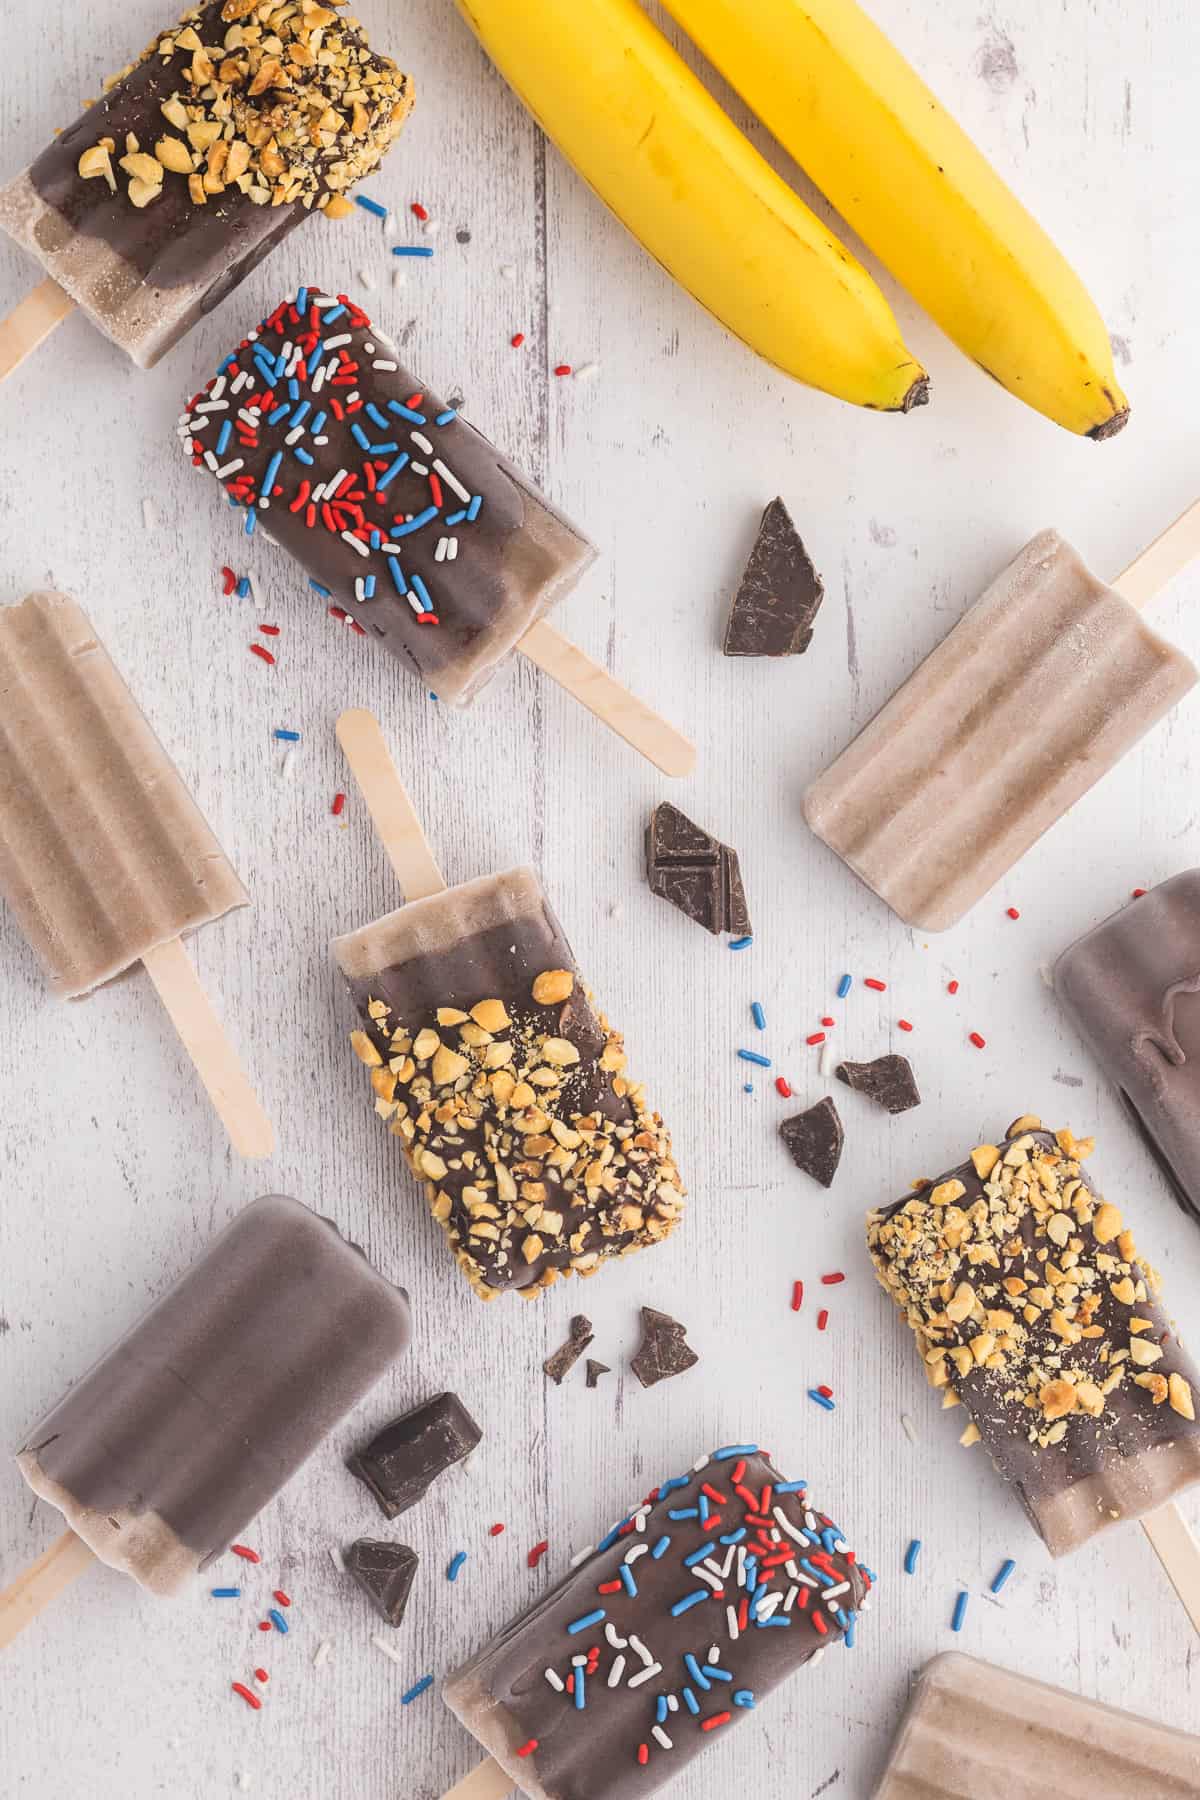
You can dip the popsicles into the chocolate magic shell and then roll in crushed peanuts or sprinkles, or both! I won't judge 😉. The magic shell hardens fairly quickly so working fast is key.
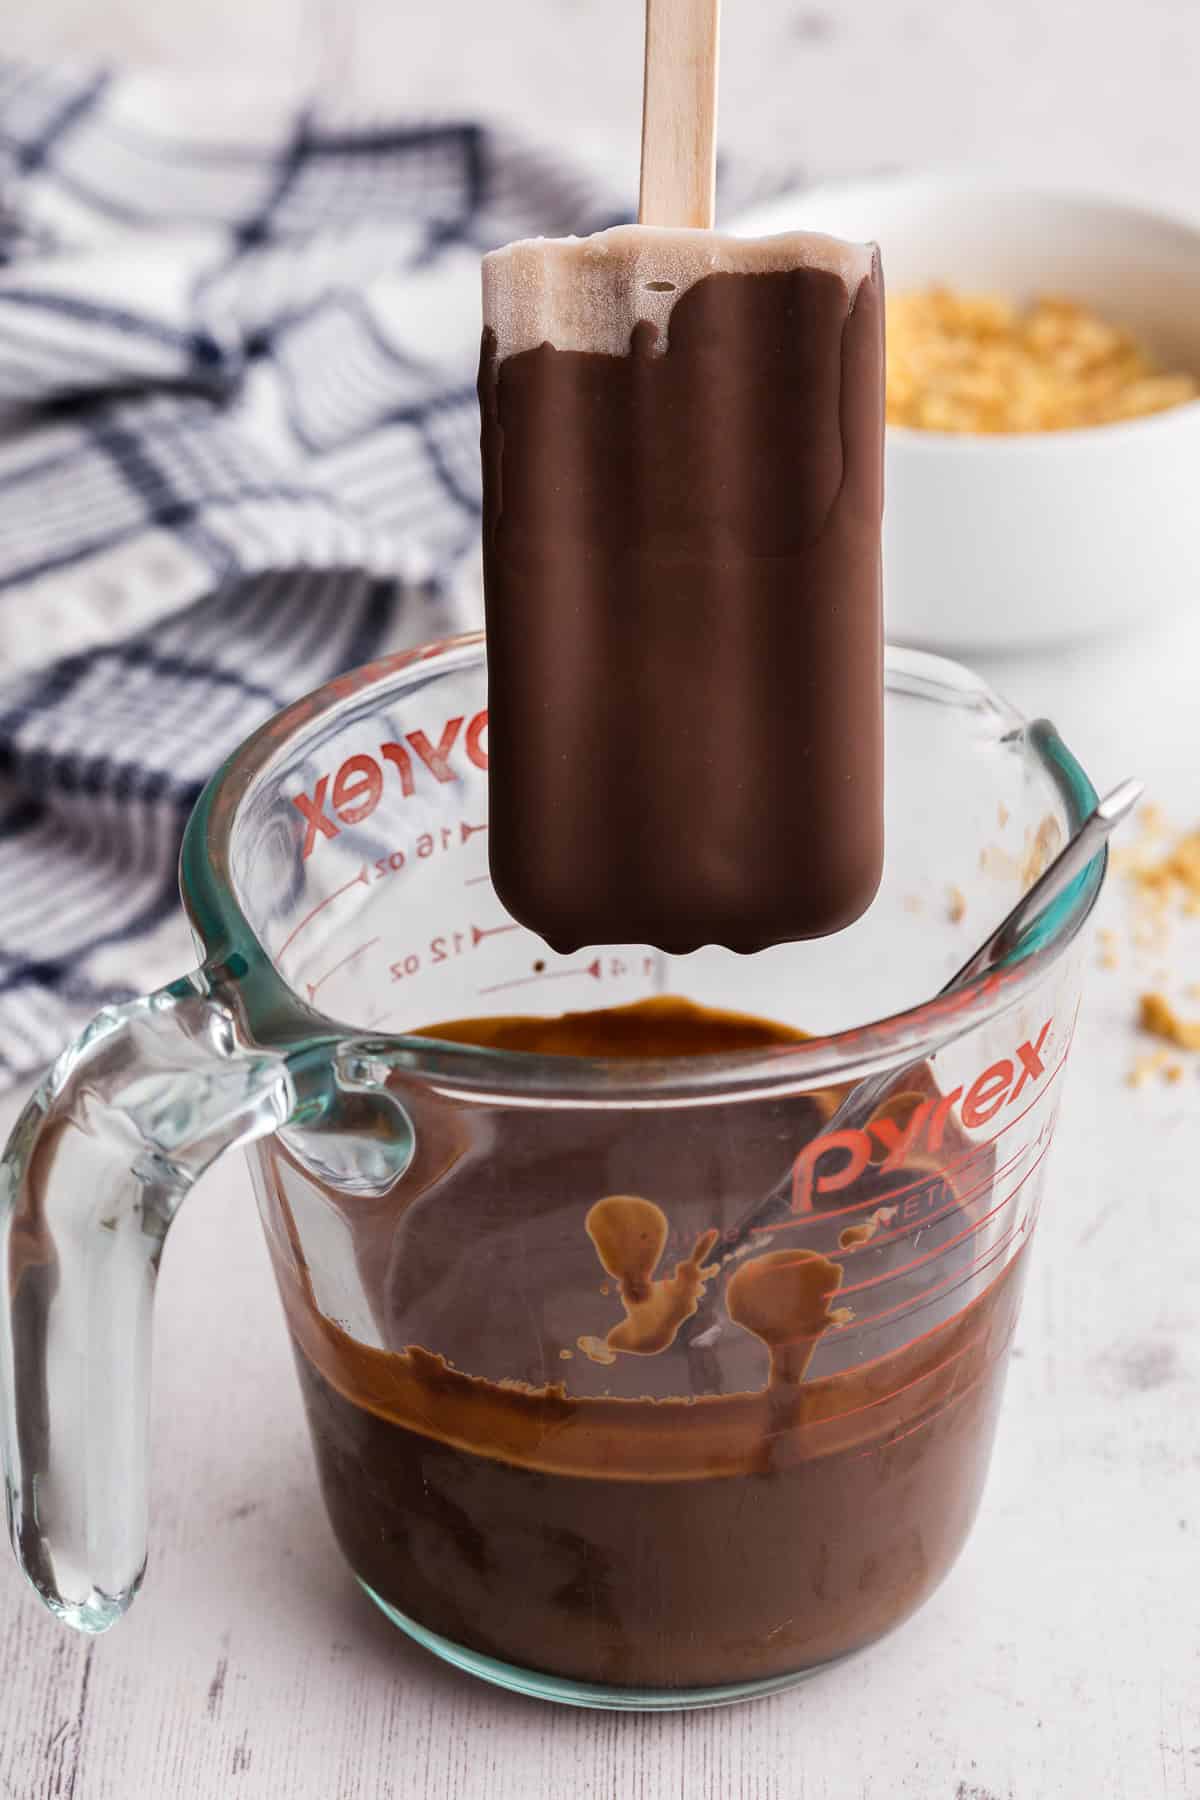
Step 1: Hold banana popsicle in the magic shell and use a spoon to spoon more magic shell higher up the popsicle letting it drip back down into the cup.
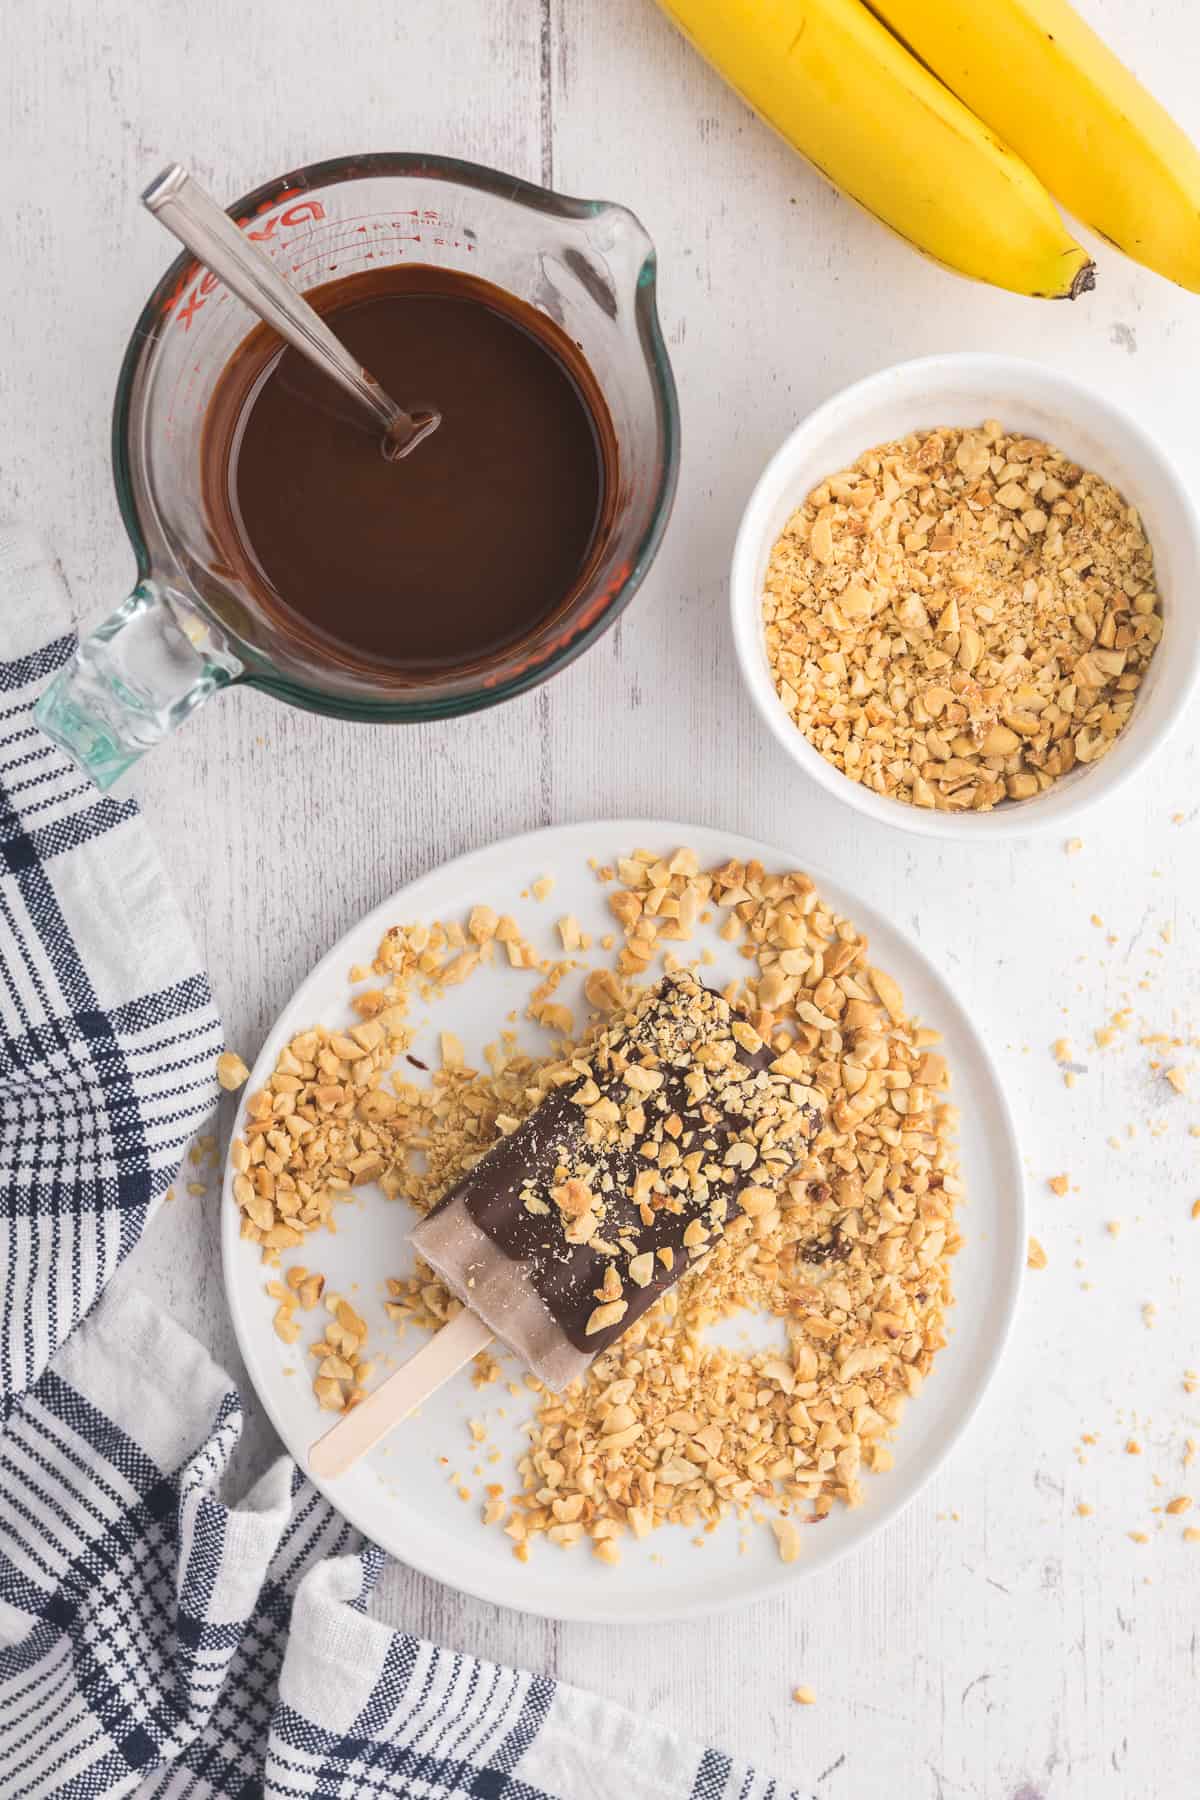
Step 2: Quickly transfer to a plate of crushed nuts and roll it around. If using sprinkles, just sprinkle them on by hand.
Although not totally necessary I do put the decorated banana popsicle back in the freezer for a few minutes just to help it firm up. But if you can't wait, you can eat it right away too!
These banana popsicles can be made ahead of time and stored in a Ziploc bag so you can have them ready for when you need them.
Variations
You can decorate these banana popsicles to your liking. Dipping in just magic shell, or dipping and then adding other garnishes of your choice like shredded coconut, freeze dried berries, or crushed chocolate bar. Red white and blue sprinkles make for a great 4th of July treat. You could even use white chocolate magic shell if you want to decorate on a white canvas for a different look. Just substitute white chocolate for milk/dark chocolate. Lots of options to make these your own.
Equipment Needed
Disclosure: as an Amazon affiliate, I receive a small amount of compensation from qualifying purchases at no expense to you. This helps support my work and allows me to bring more yummy recipes your way.
If you don't already have one, a popsicle mold like mine, and popsicle sticks are really handy. If you are in a pinch you could use dixie cups and put popsicle sticks in them too.
A blender is really useful in order to combine everything into a smooth liquid. I love my Vitamix! But if you don't have a blender and still want to make these, a potato masher can mash the bananas into a smooth batter for pouring.
Storage
Store your banana popsicles in an airtight container or zipper top bag in the freezer for up to three months.
Top Tip
If you make these ahead of time and store in the freezer they'll be ready when the heat hits and you need a cold treat.
Notes
- Coconut milk could be replaced with your favourite milk alternative, or you can go for dairy and add heavy cream.
- Sweetener. Depending on how ripe your bananas are you may want to add a little sweetener. I used maple syrup but you could go with honey, regular sugar, or artificial sweetener.
FAQs
Yes, these popsicles can be considered healthy since bananas are a wholesome treat and naturally provide potassium, fiber, and natural sugars. To keep these on the healthier side, you might want to consider not adding the chocolate shell, or just dipping it part way.
Ideally, the bananas should be just past their peak. So they are getting soft and brown patches are starting to appear on the peel.
Yes! If you don't want to add any extra sugar I recommend using bananas that are even more ripe, as they will be naturally sweeter.
You should allow them at least 7 hours in the freezer.
Yes! You can use dixie cups/paper cups or even silicone muffin containers. Just add the banana mixture and then the popsicle stick.
Other Ways to Use up Bananas
Still have more ripe bananas living on your counter you don't know what to do with? I love using my bananas in baked goods like my Banana Chocolate Chunk Muffins, and Pumpkin Banana Bread Muffins (don't worry, it uses canned pumpkin available year round). And at breakfast they are great in my Sheet Pan Pancakes.
Related
Other treats to help you keep cool this summer.
If you enjoyed this recipe, please consider rating the recipe and leaving a comment below - I love to hear how people get on with my recipes and I truly make an effort to respond to everyone who takes the time to comment. Let me know if you made in tweaks and how they turned out.
Banana Popsicles
Equipment
- 1 Popsicle Mold (Mine makes 10 popsicles)
Ingredients
- 5-6 large bananas ripe and peel starting to brown
- ½ cup coconut milk
- 2 tablespoon maple syrup
- 1 batch magic shell see link in blog
- crushed slightly salty peanuts (optional)
- sprinkles (optional)
Instructions
Making the Banana Popsicle
- In a blender combine the bananas, coconut milk, and sweetener of your choice see note 2. 5-6 large bananas, ½ cup coconut milk, 2 tablespoon maple syrup
- Blend until smooth about 30 seconds.
- Pour into popsicle molds leaving about a ¼ inch of space at the top to allow for expansion once frozen. Follow the instructions for your popsicle mold, but mine has a lid and then I place in the popsicle sticks.
- Place popsicle mold into freezer for 7 hours or overnight.
- To release popsicles, run under warm water and wiggle out.
If Using Magic Shell
- Working quickly, hold the banana popsicle in the magic shell and use a spoon to spoon more magic shell higher up the popsicle letting excess drip back down into the cup. 1 batch magic shell
- Quickly move it to a plate of crushed nuts and roll it around. For sprinkles, I just used my hands to sprinkle them on the wet chocolate.
Notes
- Coconut milk could be replaced with your favourite milk alternative, or you can go for dairy and add heavy cream.
- Sweetener. Depending on how ripe your bananas are you may want to add a little sweetener. I used maple syrup but you could go with honey, regular sugar, or artificial sweetener.


It's so hot here in Georgia, so I made this recipe today. My kids loved it! I will be making this again and again!
They are great for a cool treat! Enjoy your hot summer!