Berry Crepes
As the weekend rolls in, you're looking for a breakfast sensation beyond the ordinary. While pancakes and waffles often steal the spotlight, this time you want something different. Try these delightful berry crepes - the sophisticated French counterpart to traditional American pancakes. Your loved ones and guests will be delighted by this breakfast.

What We Love About Berry Crepes
A little bit of sweet and fun but also a nod to healthy eating at the same time 😉. These crepes are tender and buttery with a slightly crispy edge - the perfect base for delivering fresh berries and whipped cream. Although these crepes are delicious with berries and whipped cream, you can really eat them with almost any fruit you like. My kids also love to smear a little Nutella inside and eat the crepes with bananas. You could also use this recipe to make savory crepes. Just omit the sugar and vanilla extract, and then fill with your favourites like maybe scrambled eggs and bacon. Also, you can roll the crepes instead of folding them, making them pretty good for a quick on the go breakfast - like a breakfast burrito Parisian style.
Equipment Needed
Disclosure: as an Amazon affiliate, I receive a small amount of compensation from qualifying purchases at no expense to you. This helps support my work and allows me to bring more yummy recipes your way.
Ingredients

- Large Eggs
- Milk
- Water
- Vanilla Extract
- All-purpose flour
- Granulated Sugar
- Melted Butter
How to Make Berry Crepes
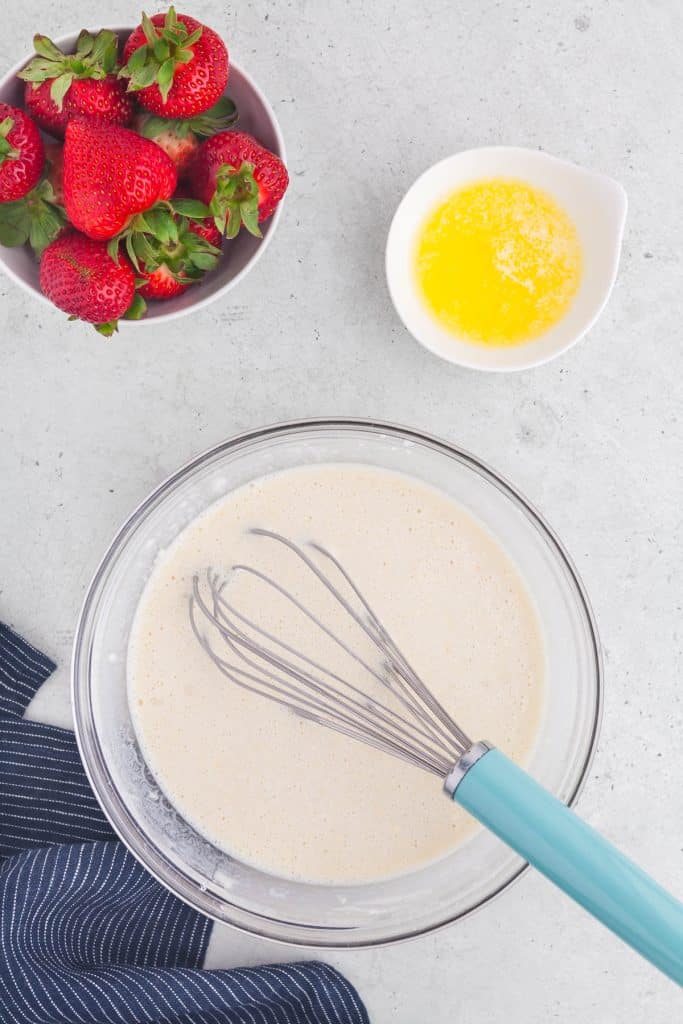
1. In a small bowl whisk together the eggs
2. Add the milk, water and vanilla extract and whisk together until combined. Set the bowl aside.
3. In a medium sized bowl stir together the flour and granulated sugar.
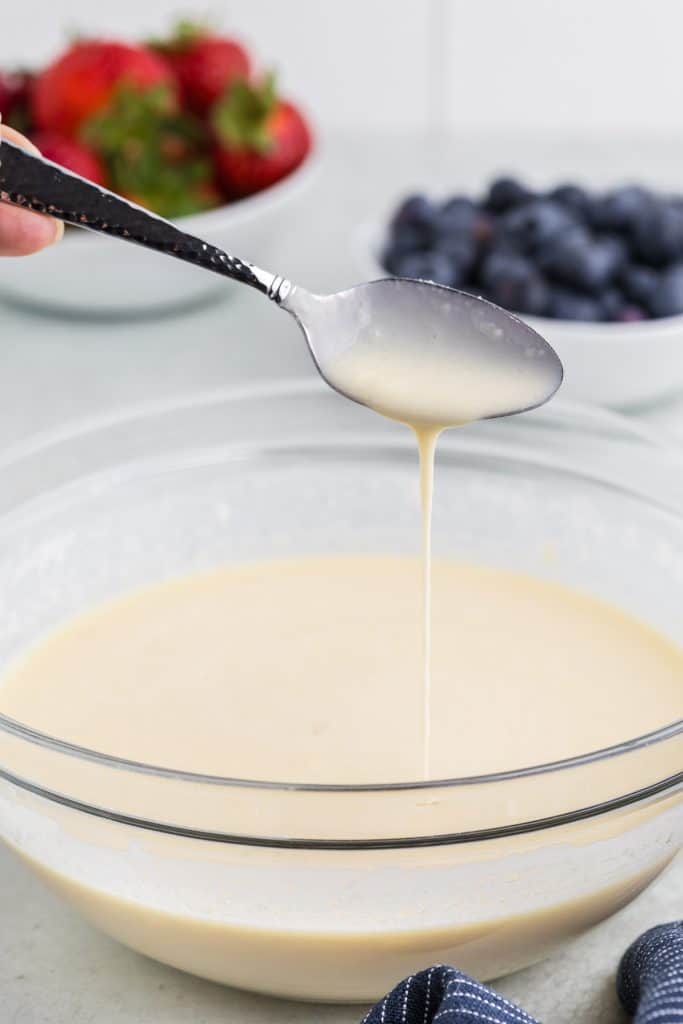
4. Add the wet ingredients to the dry ingredients and whisk together until it forms a smooth batter. Add in the melted butter and whisk again until fully incorporated. The batter should be fairly thin (see photo).
5. Cover the batter with plastic wrap and place in the fridge for 60 minutes or overnight if you can. If you don't have time, you can make the crepes right away, but allowing the batter to rest does allow the flour to fully hydrate giving a nice elasticity and flavor to the crepes. But I have many times, not let the batter rest and the results are still good.
6. Heat a non-stick skillet over medium heat. Depending on how non-stick your skillet is, you may want to melt some butter into the skillet especially at the edges and then pour in your crepe batter into the centre of the pan. If you are using a 12" skillet use ½ cup of batter, if you are using an 8-10" skillet use ⅓ cup of batter.
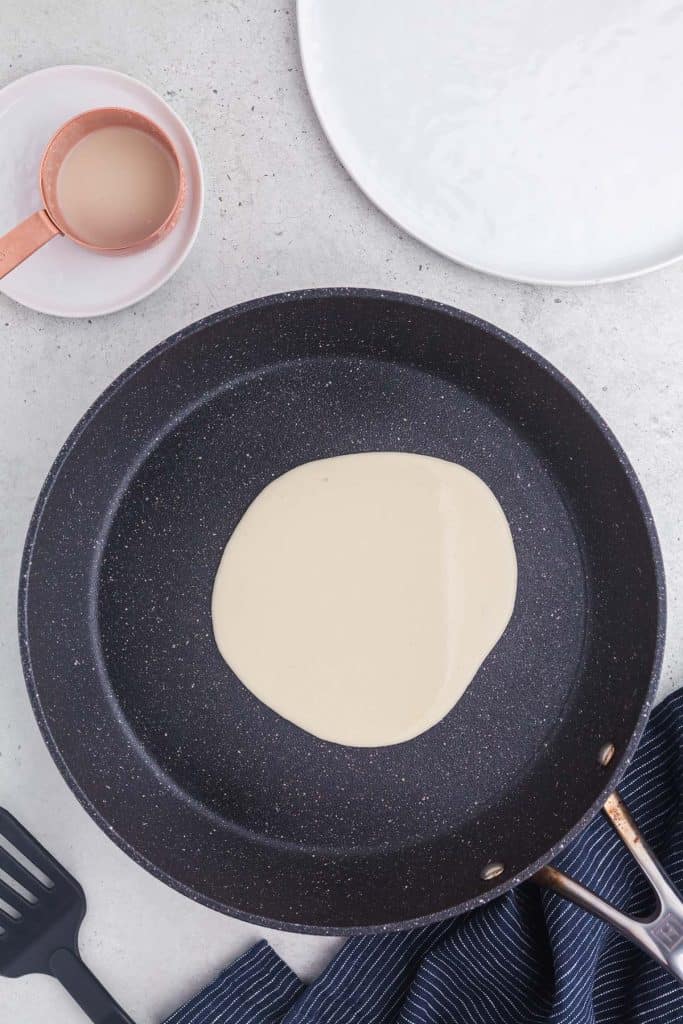
7. Twirl the pan around to allow the batter to reach all the edges of the bottom of the pan. You need to work relatively quickly so the batter doesn't cook before you get a chance to swirl it around the pan.
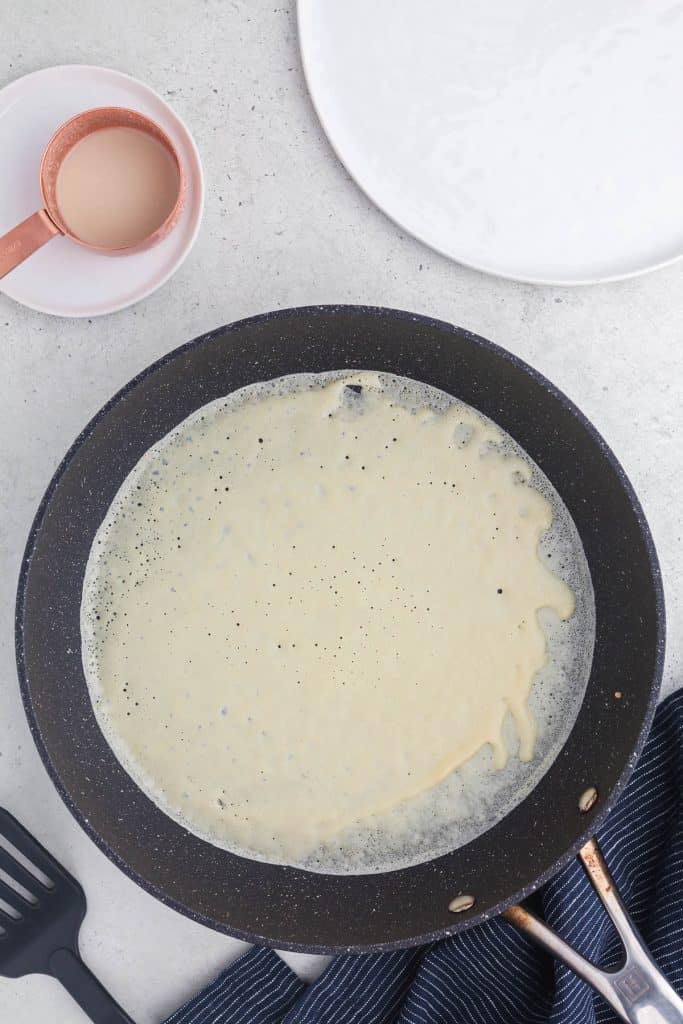
8. Once you see the edges beginning to dry out a bit and release from the pan and they are a bit brown, it is time to flip the crepe over and let the other side cook for about 30 seconds.
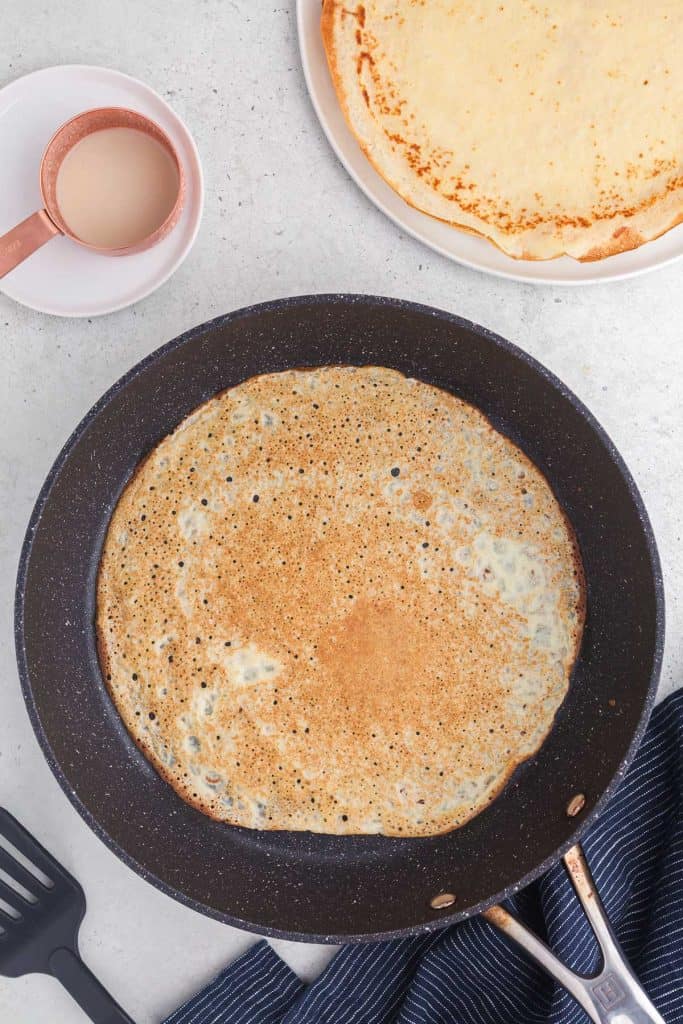
9. Remove the cooked crepe from the pan and keep them warm on a plate.
Assembling the Berry Crepes
Crepes are usually either rolled with their filling or folded. If you fold the crepe, you can put a little whip cream on half the crepe and then fold over in half (over the whipped cream). Then fold in half again in the opposite direction. You can then place the fruit on top with more whipped cream if you like and/or icing sugar. Ready to serve.
If you prefer, you can roll the crepe instead. Place the filling in about ¼ of the crepe (like a burrito, you don't want to over stuff), and then begin rolling the crepe over starting from the side that the filling is on. This will leave the top and bottom open which can give a nice presentation.

Notes
1. The first crepe almost always isn't a pretty one. It seems like the first one is getting the pan ready for cooking crepes and needs to be sacrificed to the crepe gods (ie. the Cook) before you start to get really nice crepes.
2. It may help to butter the skillet between each crepe, but often after the first one is cooked you are good to keep going. It depends on your skillet really.
3. I find that the longer you leave the batter to rest in the fridge the more tender the crepe and the more little holes the final product has in it (not big enough to cause leaks etc). But, I have to admit that sometimes crepes happen at the last minute and I don't have time to let the batter rest, the crepes are still pretty darn good.
FAQs
1. What should I serve alongside crepes? Well, if you are serving a crowd you could have a sort of crepe station with different fillings so your friends and family can assemble their own. Bowls of fresh bite sized fruit/berries, canned fruit, bananas, whipped cream, nutella, strawberry sauce, maple syrup all would work great with sweet crepes. On the side you could also have bacon, sausages, and or eggs.
2. How do you store leftover crepes? If you are going to have any leftovers it's best to not fill them or have toppings on them. Just wrap the untouched crepes in saran wrap or in an air tight container and they can be stored in the fridge for 3-4 days. You can fill them cold or warm them up in the skillet before filling. I haven't tried it yet, but I bet they would freeze ok too.


Berry Crepes
Equipment
- 1 8-10 inch non-stick skillet
- 1 plastic spatula
- 1 Whisk
- 1 small mixing bowl
- 1 medium mixing bowl
Ingredients
- 2 large eggs
- 1 cup milk
- ⅓ cup water
- 1 teaspoon vanilla extract
- 1 cup all-purpose flour
- 1 tablespoon granulated sugar
- 2 tablespoons salted butter melted
Instructions
Making the Crepes
- In a small mixing bowl whisk together the eggs
- Add the milk, water and vanilla extract and whisk together until combined. Set the bowl aside.
- In a medium sized bowl stir together the flour and granulated sugar.
- Add the wet ingredients to the dry ingredients and whisk together until it forms a smooth batter.
- Add in the melted butter and whisk again until fully incorporated.
- Cover the batter with plastic wrap and place in the fridge for 60 minutes or overnight if you can. If you don't have time, you can make the crepes right away, but allowing the batter to rest does allow the flour to fully hydrate giving a nice elasticity and flavor to the crepes.
- Heat a non-stick skillet over medium heat. Once the skillet is heated up melt some butter into the skillet especially at the edges and then pour in your crepe batter into the centre of the pan. If you are using a 12" skillet use ½ cup of batter, if you are using an 8-10" skillet use ⅓ cup of batter.
- Twirl the pan around to allow the batter to reach all the edges of the bottom of the pan. You need to work relatively quickly so the batter doesn't cook before you get a chance to swirl it around the pan.
- Once you see the edges beginning to dry out a bit and release from the pan and they are a bit brown, it is time to flip the crepe over and let the other side cook for about 30 seconds.
- Remove the cooked crepe from the pan and keep them warm on a plate.
Assembling the Crepes
- Crepes are usually either rolled with their filling or folded. If you fold the crepe, you can put a little whip cream on half the crepe and then fold over in half (over the whipped cream). Then fold in half again in the opposite direction. You can then place the fruit on top with more whipped cream if you like and/or icing sugar. Ready to serve.
- If you prefer you can roll the crepe instead. Place the filling in about ¼ of the crepe (like a burrito, you don't want to over stuff), and then begin rolling the crepe over starting from the side that the filling is on. This will leave the top and bottom open which can give a nice presentation.
Notes
- The first crepe almost always isn't a pretty one. It seems like the first one is getting the pan ready for cooking crepes and needs to be sacrificed to the crepe gods (ie. the Cook) before you start to get really nice crepes.
- It may help to butter the skillet between each crepe, but often after the first one is cooked you are good to keep going. It depends on your skillet really.
- I find that the longer you leave the batter to rest in the fridge the more tender the crepe and the more little holes the final product has in it (not big enough to cause leaks etc). But, I have to admit that sometimes crepes happen at the last minute and I don't have time to let the batter rest, the crepes are still pretty darn good.
If you made this recipe, I'd love for you to rate it and leave a comment below. Here are some other recipes you might enjoy: Strawberry Scones, Cinnamon Coffee Cake, and Mango Popsicles.


My crew is always ready for crepes and gets excited when the crepe pan comes out. The buttery sweetness was a hit with all of us.
I'm glad you and your family enjoyed them.
These sound so special! Love switching things up from pancakes to something like this. Perfect for a weekend breakfast.
Yes, crepes are a nice switch from pancakes, same idea but executed differently. Enjoy!
I made these for a family brunch over the weekend and they were a big hit! My sister lived in France for a bit and said they were perfect! Definitely saving this one.
Wow, that is great to hear. I want to go to France, and I will definitely be trying the crepes!
My kids were just talking the other day about how we haven't had crepes in forever after seeing them in a restaurant and then I saw your recipe. We all loved these crepes, they weren't that hard to make and we loved them stuffed with berries and cream. Thanks for the great recipe!
I'm glad your family enjoyed the crepes. They are one of my favorite special morning treats.
Have these every time I'm missing paris! Great recipe!
So glad to hear it. I have soft spot in my heart for crepes - still hoping to visit Paris...
What a lovely breakfast recipe! I really appreciated your tip about letting the batter res, it made such a difference when these. The fresh berries and whipped cream are such a classic combination and a delicious addition.